RSS-Bridge Setup Guide
Note: Self-hosting RSS-Bridge is purely for using its Picuki bridge to track celebrity Instagram. Public instances’ Picuki bridge gets blocked by Picuki due to too many users.
Prerequisites:
- A foreign VPS (the following installation steps assume Debian system is installed; other systems are similar, adapt accordingly)
- A domain name
Due to space constraints, 1) purchasing a foreign VPS and 2) SSH connecting to VPS are omitted.
1. Install Docker
See Docker’s official documentation
|
|
2. RSS-Bridge Installation
|
|
Next, open port 3001 on the server. If the VPS provider’s management panel doesn’t have a firewall, check the VPS firewall status. The demo machine uses DigitalOcean’s VPS, which by default has no firewall, so opening local port 3001 is optional.
|
|
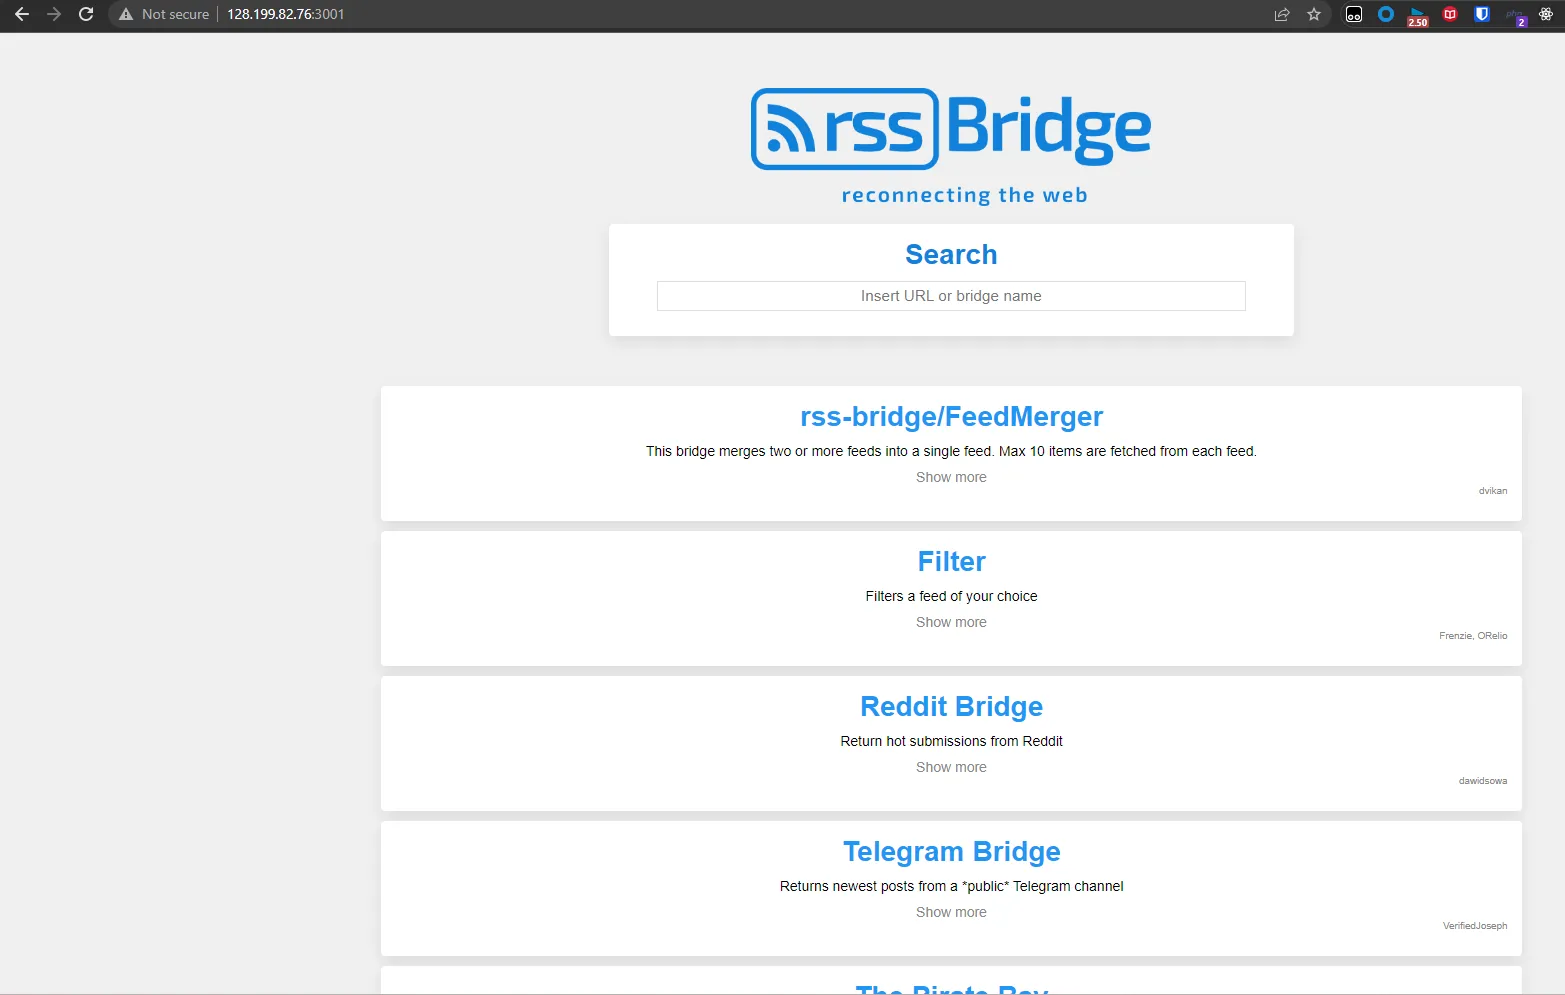
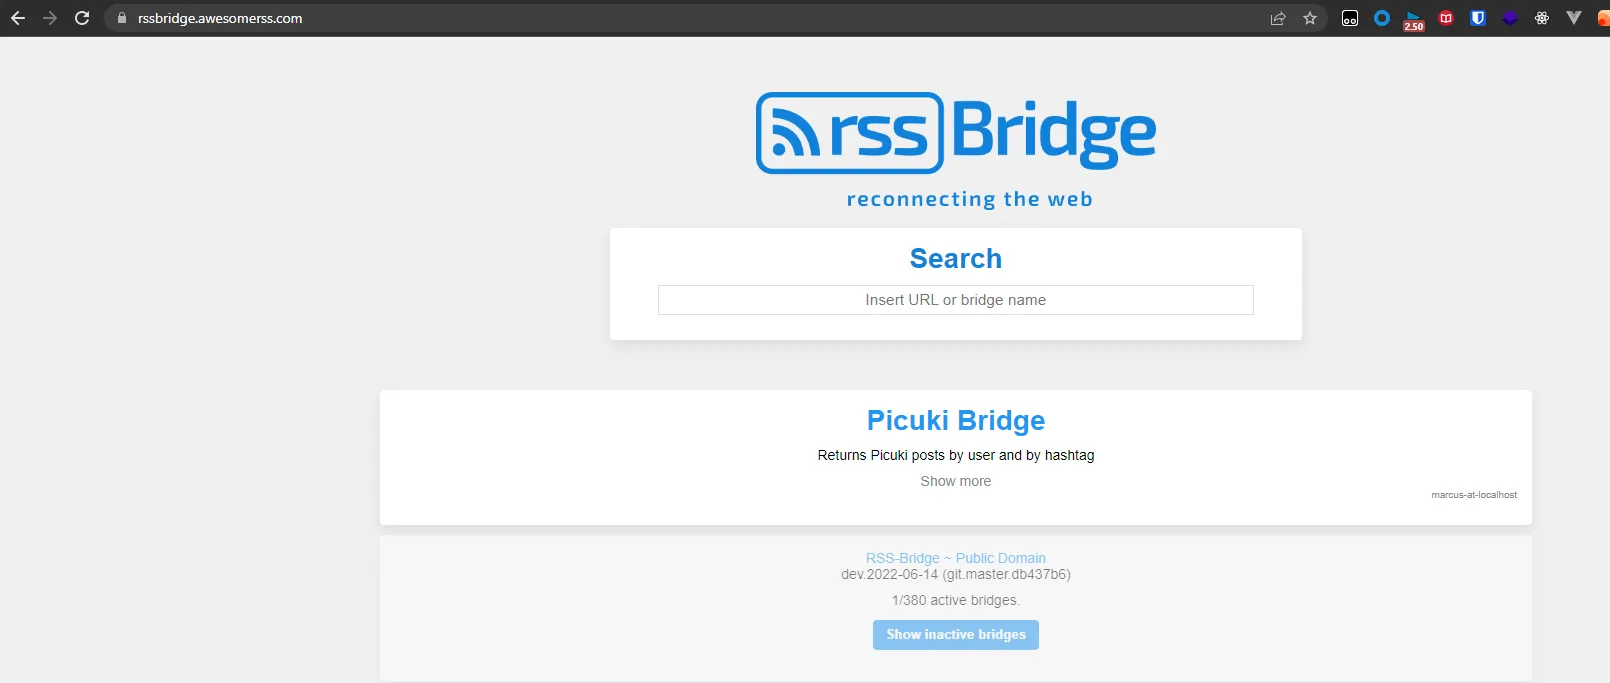
Access server IP:3001 to see RSS-Bridge.
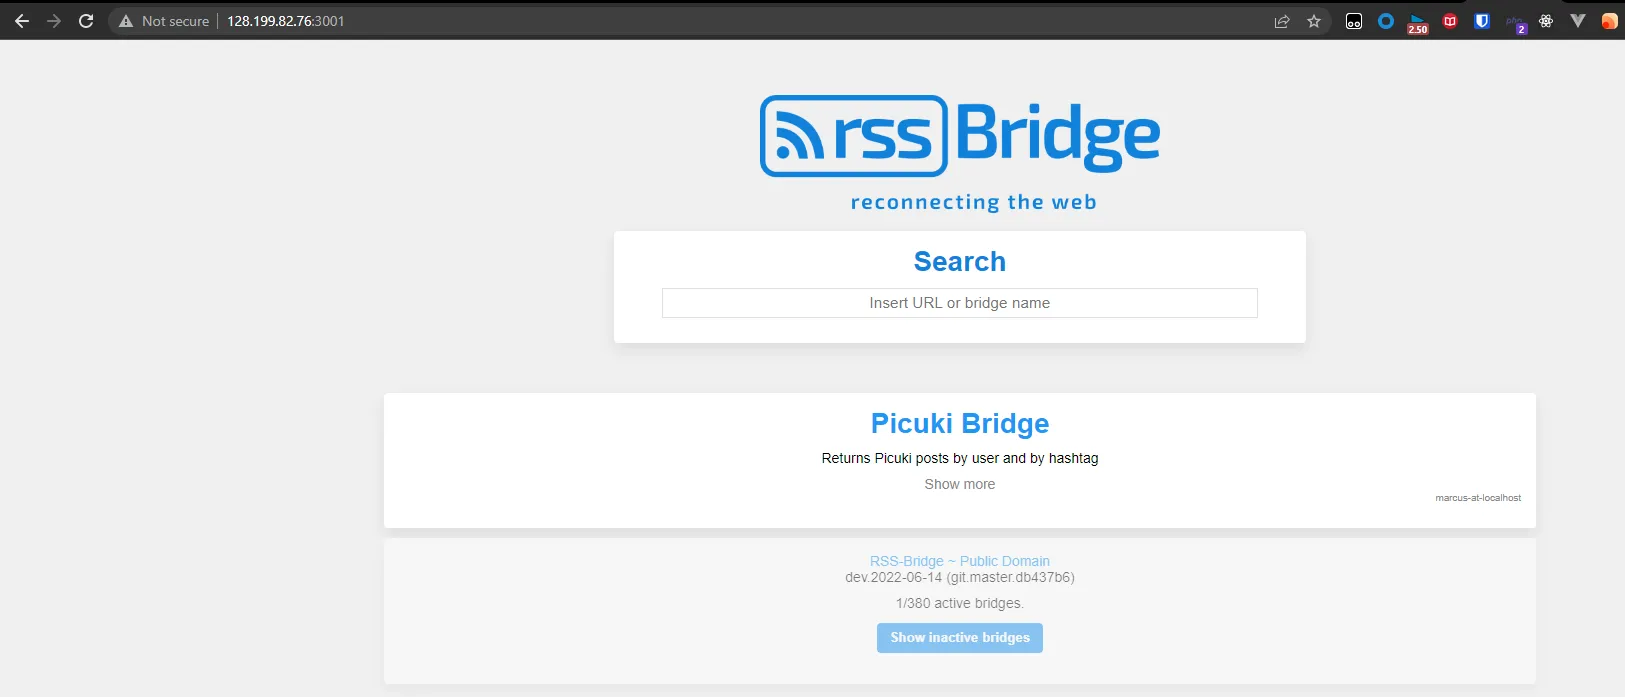
3. Enable Picuki in RSS-Bridge
By default, RSS-Bridge doesn’t enable Picuki bridge. You need to use a whitelist to enable it. See the official documentation’s description of whitelisting.
Create a file whitelist.txt in the config folder under rssbridge folder, and add Picuki + newline inside.
Restart Docker container to apply the configuration.
|
|
4. Modify Timezone
Download the default configuration file from RSS-Bridge GitHub repository
|
|
5. Add Your Domain + Caddy Reverse Proxy
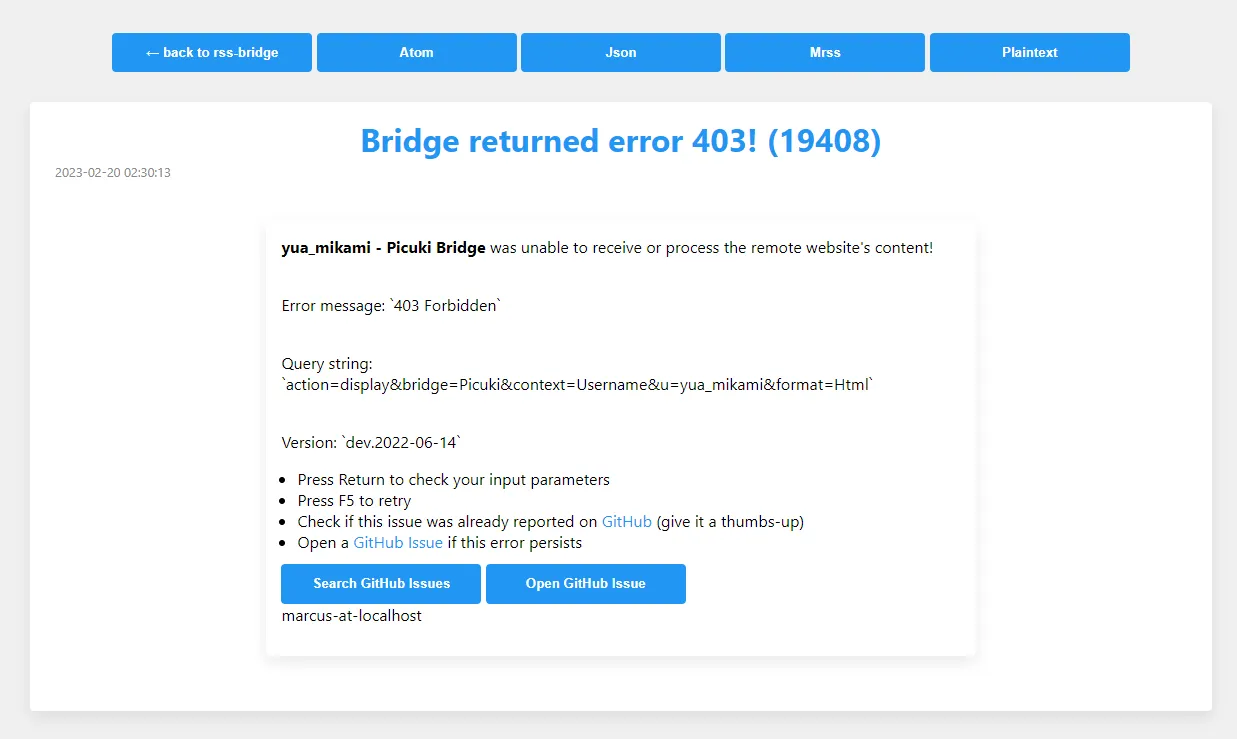
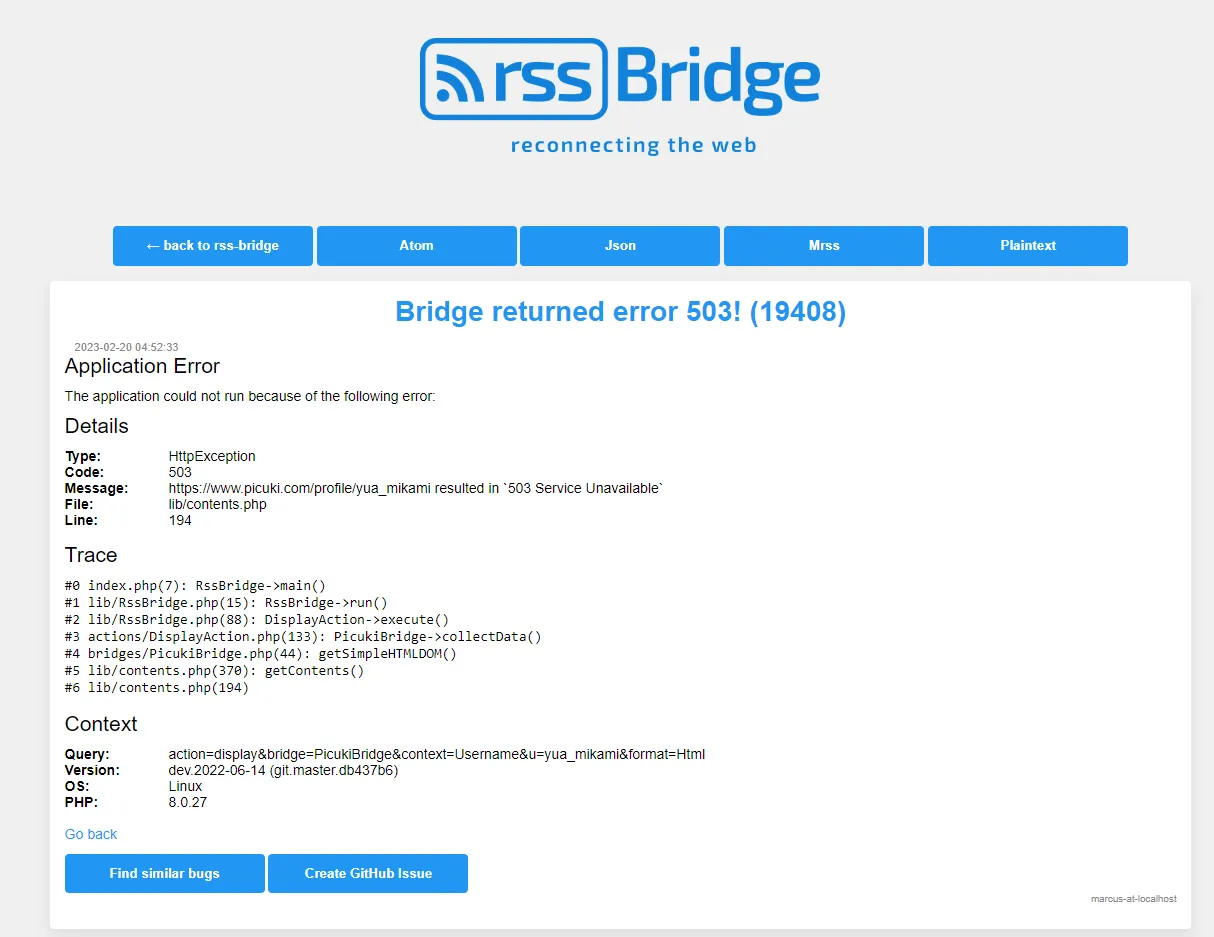
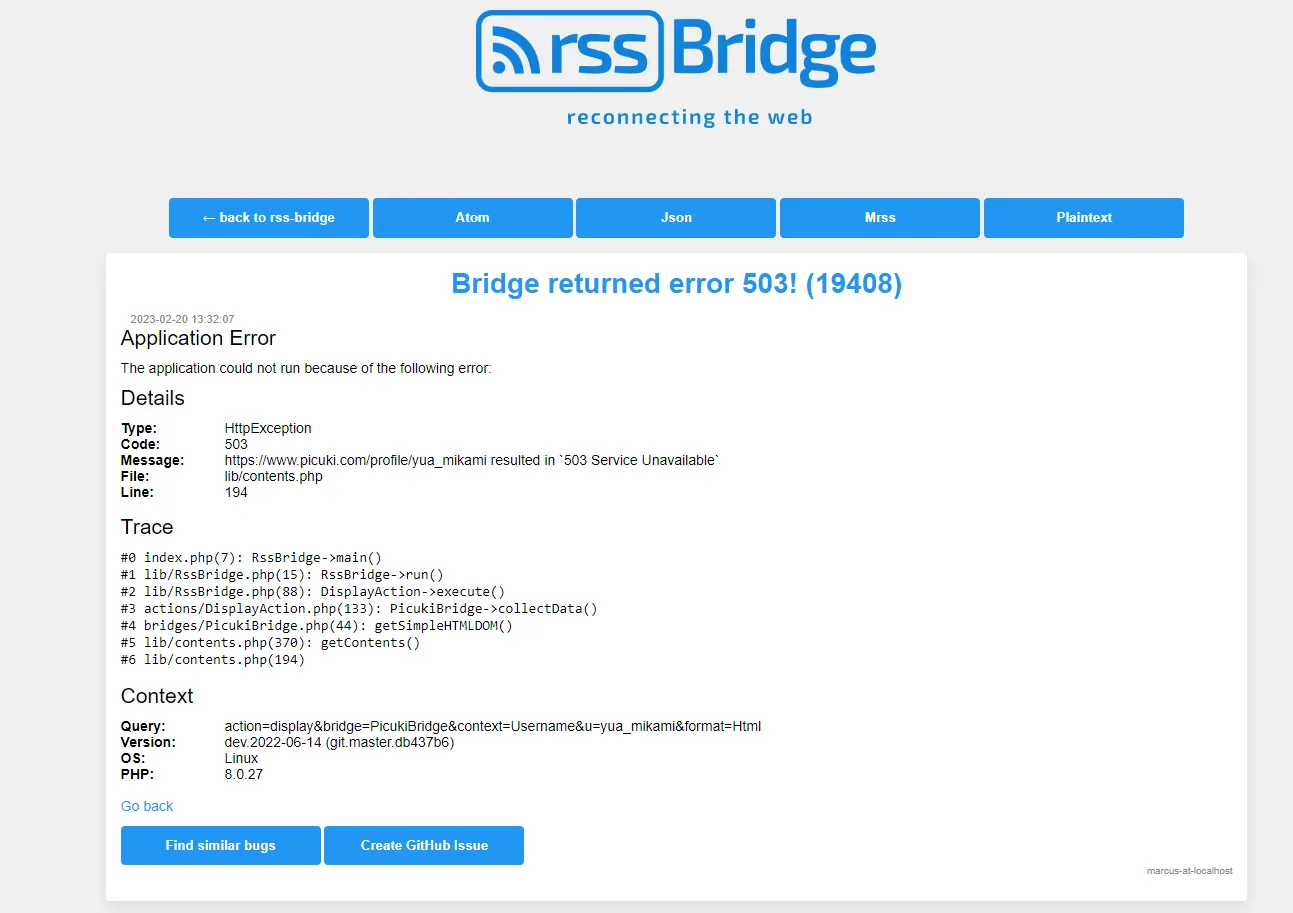
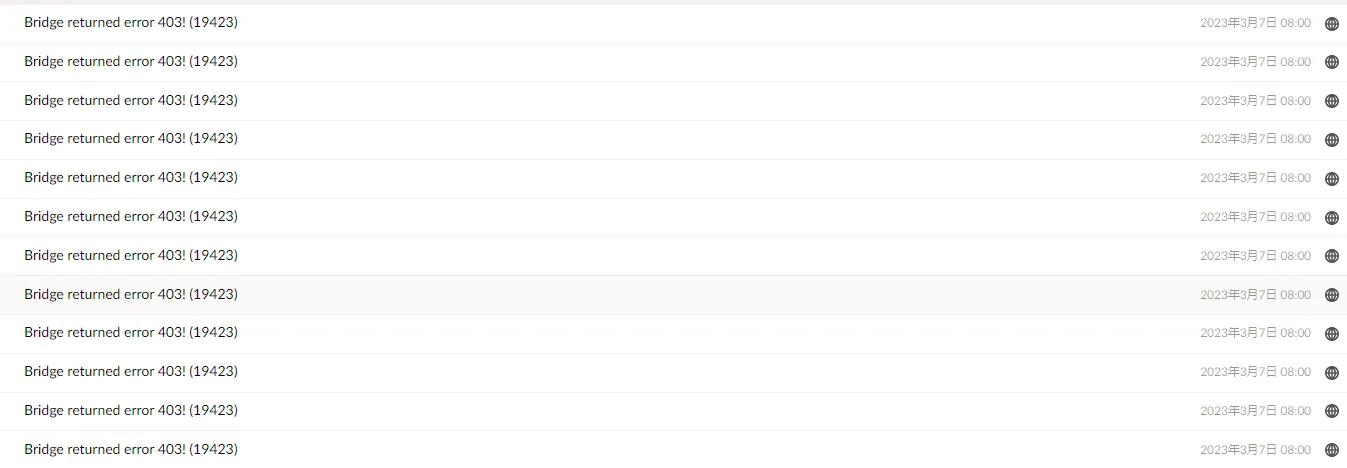
After completing the above work, when you excitedly try to add a celebrity’s Instagram username in Picuki, you find a 503 error. The error reason will be explained later.
The current issue is that RSS-Bridge is set up, but Picuki bridge isn’t working. Let’s pause and first bind a domain to the RSS-Bridge service.
At your domain host, add an A record pointing to your VPS’s IPv4 address.

I’m using Cloudflare as my domain host.
Finally, let’s configure the reverse proxy server. You can choose nginx, apache, caddy, etc. I’m choosing Caddy as the reverse proxy server because Caddy natively supports HTTPS—it automatically handles SSL certificate application and configuration without manual intervention; plus Caddy’s configuration file is extremely simple. You can also use nginx as a reverse proxy server to proxy RSS-Bridge’s port 3001. For nginx SSL certificate application and installation, you can use the acme script.
Caddy forwards external requests to local port 3001. We enter rssbridge.example.com in the browser address bar, Caddy receives the external request and forwards it to local port 3001, which happens to serve RSS-Bridge, and we get the RSS-Bridge service response.
Install Caddy (official documentation)
|
|
Find Caddy’s default configuration file location /etc/caddy/Caddyfile and add the following configuration [note formatting].
|
|
Restart Caddy.
|
|
Wait a moment, then enter rssbridge.example.com in the browser address bar to see the HTTPS-secured RSS-Bridge website.
However, I found the Picuki bridge in RSS-Bridge still errored. This made me ponder.
Fortunately, I have several foreign VPS. I also set up RSS-Bridge on AWS Lightsail, where Picuki bridge works normally.

My guess is that setting up RSS-Bridge on DigitalOcean and getting Picuki bridge errors is because DigitalOcean’s IP might have been used by a previous VPS that also hosted RSS-Bridge, and that RSS-Bridge was used by many people, accessing Picuki too frequently, causing that IP to be blocked by Picuki. Of course, this is just my speculation.
DigitalOcean’s pay-as-you-go consumption model makes demonstrating features from scratch very convenient. But it also leads to impure IP addresses—who knows what the previous customer did with this IP.
6. Add Instagram Bridge
See official documentation description.
|
|
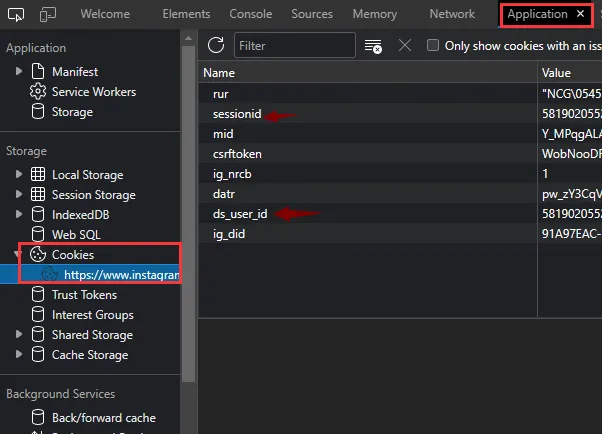
The method for getting session_id and ds_user_id is detailed in the documentation link above. Summary: log into Instagram, F12 open developer tools, Application—>Cookies—>get related data. Add to config.ini.php file.
7. Summary
RSSHub also has Instagram-related parameter configuration methods. After configuration, you can use RSSHub’s Instagram RSS subscription, but as mentioned in last month’s blog post, after using this method for a while, Instagram will verify the account.
Predictably, using RSS-Bridge’s Instagram bridge will also encounter this situation. So when getting session_id and ds_user_id, it’s best to use a registered Instagram alt account. If the alt gets identity verification requests, no fear of bans.
In 2023, RSS looks outdated, being killed off by various social platforms. Social platforms like to keep users in their walled gardens, making users create value for them.
Sharing a personal interesting experience: at the beginning of the year, I deactivated my blog on China’s CSDN. The reason was previous posts had flaws. But surprisingly, deactivating the account doesn’t equal deleting it—my CSDN blog homepage still exists. The so-called account deactivation just changed the name to “Deactivated.” At that moment, I finally understood the importance of personal websites. Various websites provide services while controlling the data you create—as long as you use their services, content created with those services belongs to them, not you.
RSS-Bridge is an excellent project. In the RSS world, below RSSHub is RSS-Bridge.
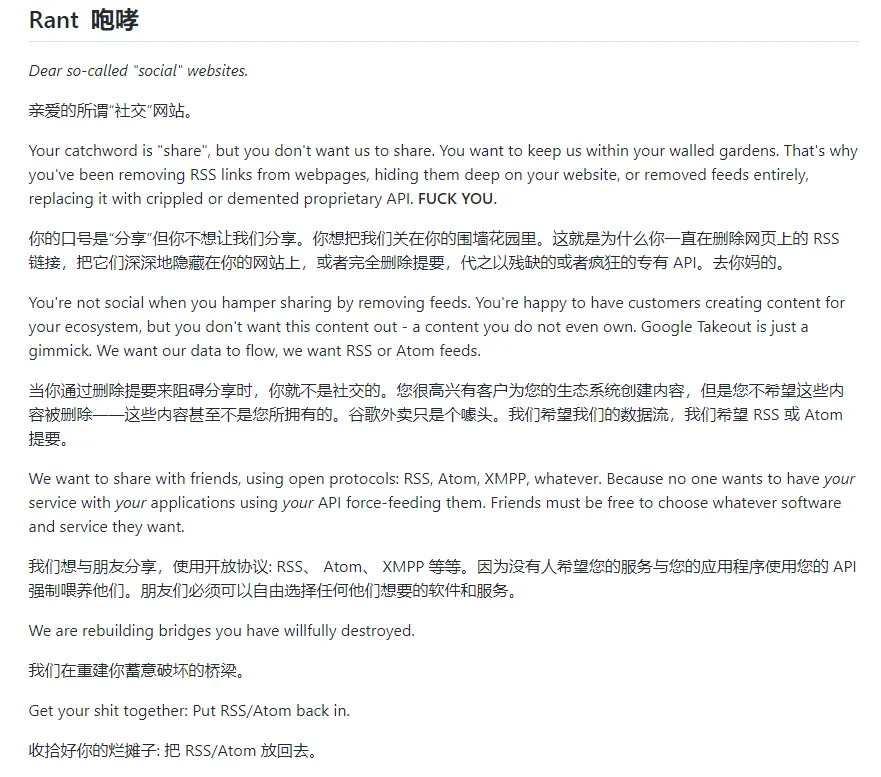
Finally, sharing a rant from the RSS-Bridge project homepage.
8. Update
2023.3.7
I’ve now abandoned self-hosted solutions in favor of the RSS-Bridge set up by thefeedreaderbot founder. If financially able, you can pay €100 for lifetime premium of this bot.
I also asked the author which proxy they purchased to make their RSS-Bridge avoid Picuki blocks. The author told me they use dynamic proxy IPs from webshare, with domain authorization, putting the obtained address in RSS-Bridge’s config.ini.php file, like url = "http://p.webshare.io:xxxx".
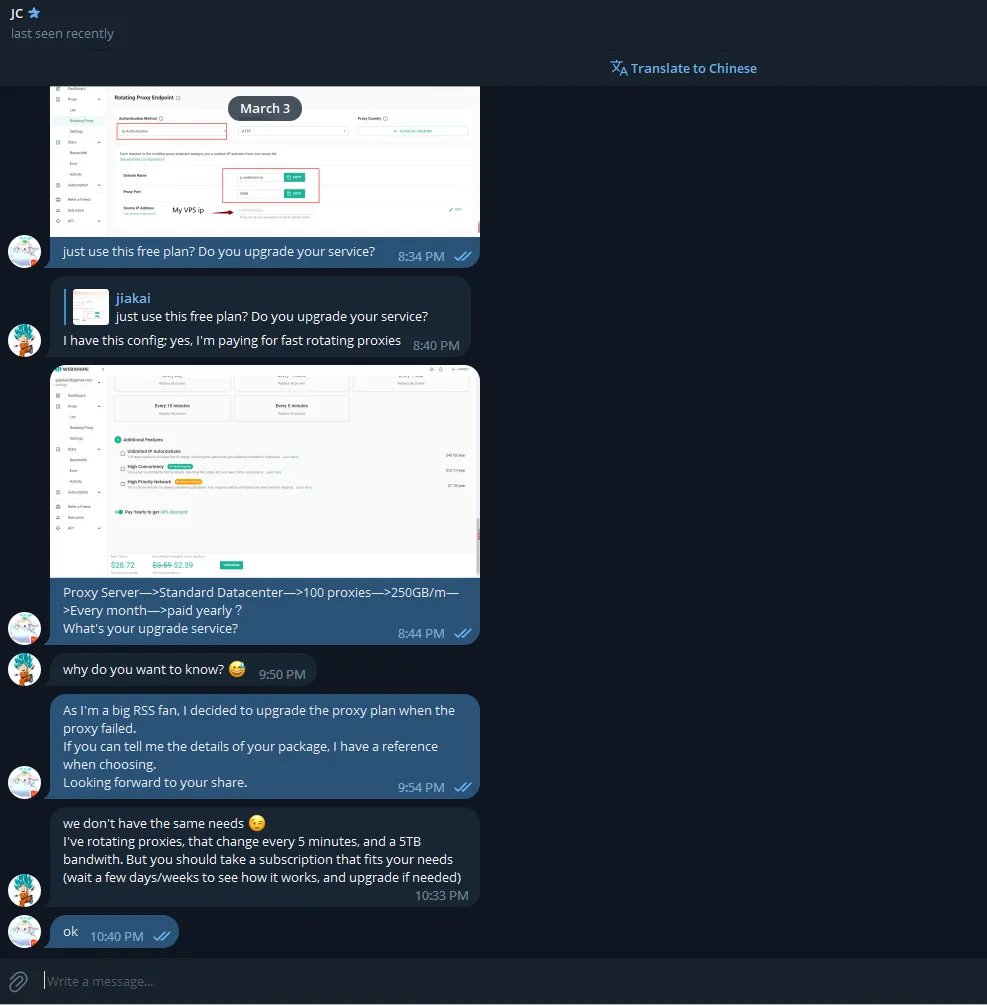
I roughly calculated that webshare’s cheapest annual plan costs nearly $30, so I ultimately decided to abandon RSS-Bridge and use the RSS-Bridge set up by thefeedreaderbot author. For the specific RSS-Bridge address, see thefeedreaderbot website’s help rssbridge page.
Document Info
- License: Free to share - Non-commercial - No derivatives - Attribution required (CC BY-NC-ND 4.0)