Notes on Migrating from One BandwagonHost Machine to Another
The migration process mainly references this article - BandwagonHost VPS Data Migration Tutorial Using Snapshots (Snapshot Creation, Export, Import, Restore)
Assuming the original server is A, I exported a snapshot of server A and imported it on server B. The following changes need to be made on server B:
- SSH login information
In my case, I needed to change server B’s SSH login port and password to match server A’s.
- Domain binding information
Log into the Cloudflare admin panel, enter server A’s IP address in the DNS records search box, find all related DNS records, and change the original server A IP to server B’s IP.
- Nezha Panel
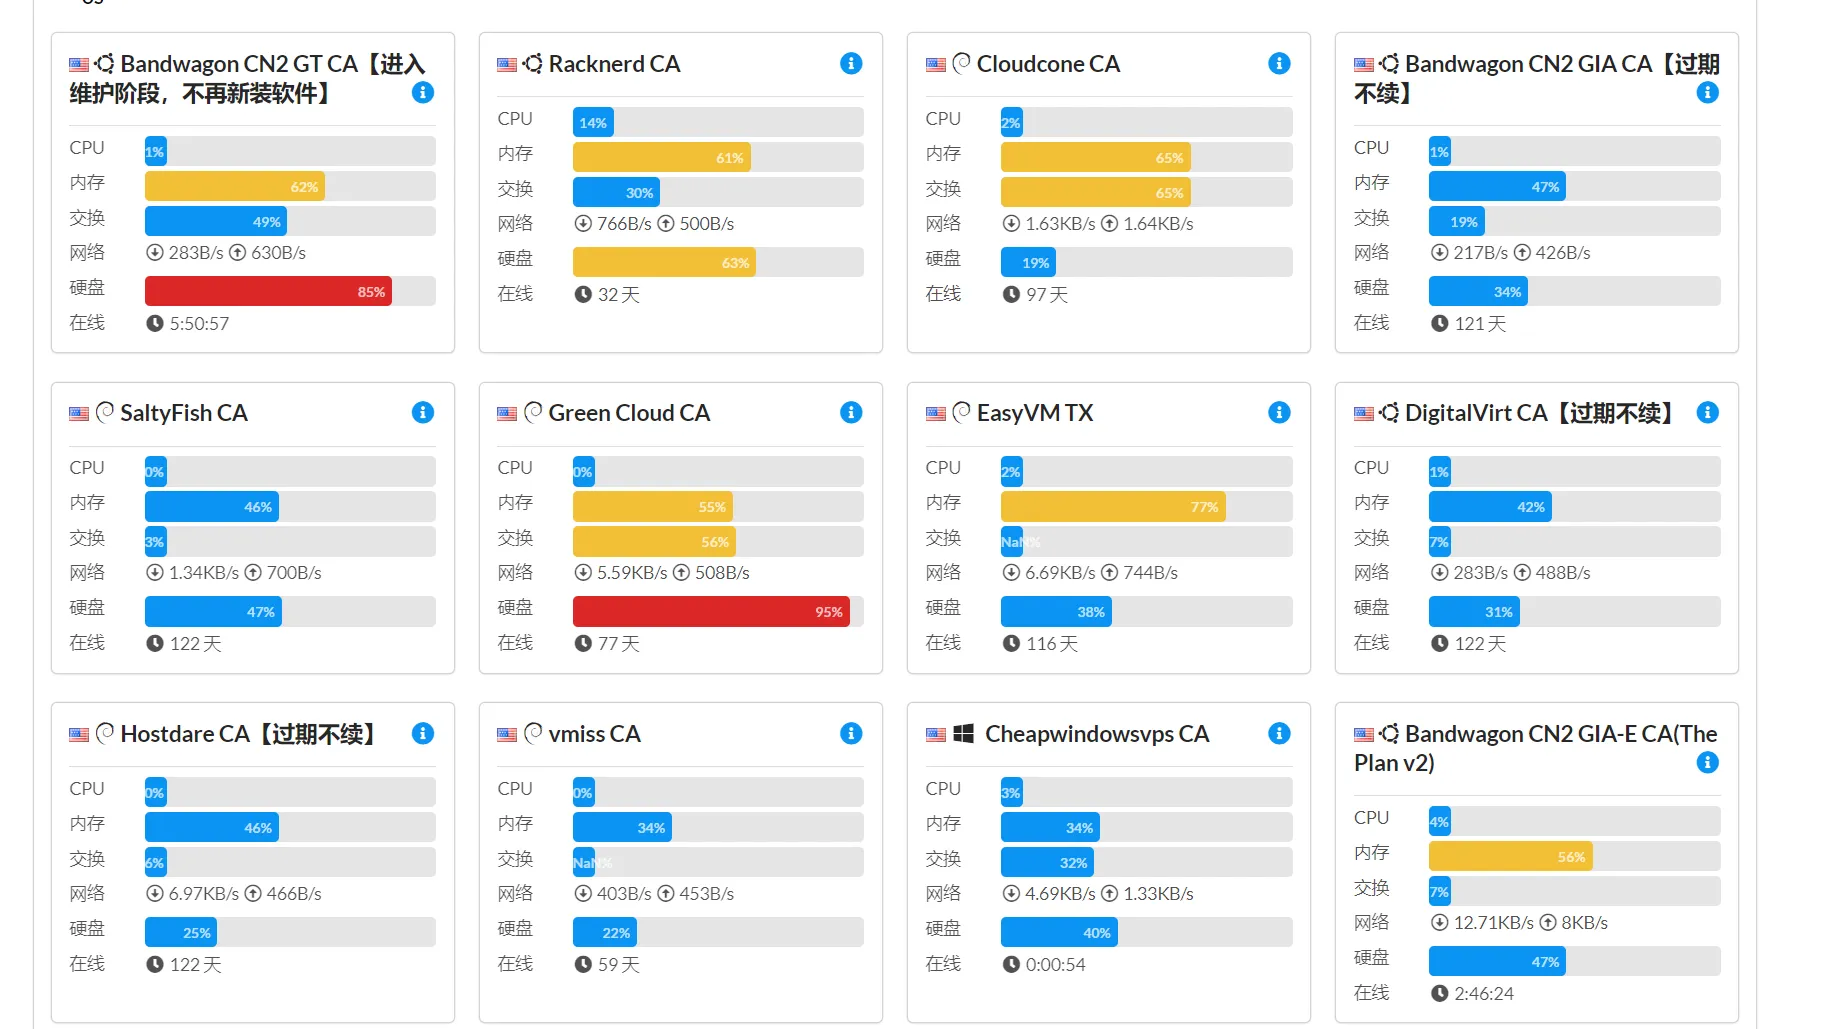
After migration and changing all server A IPs to server B IPs in Cloudflare, checking the Nezha panel showed many servers as offline.
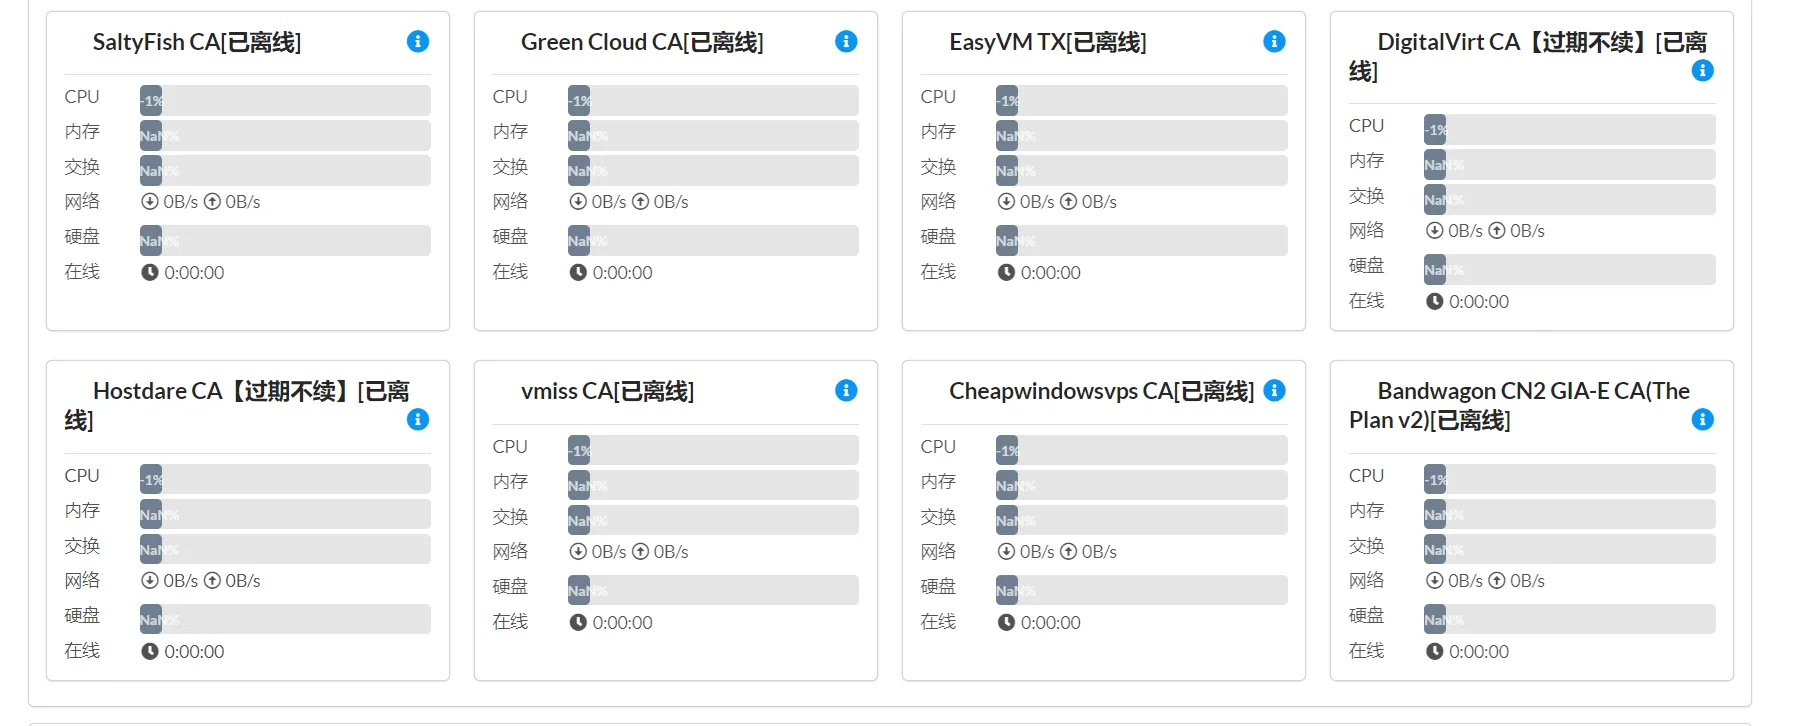
Through my own exploration, I found that simply restarting each Nezha panel client would display the client server status on the Nezha panel.
For Linux VPS, directly restart the client; for Windows VPS, directly restart the computer.
- Proxy software X-UI panel
Mainly modifying the exit node machine’s IP.
I’ll add any other missed points after using it for a while. Overall, although BandwagonHost machines are expensive, their backup and snapshot features are quite useful.
Currently I have a BandwagonHost GT (entry-level), BandwagonHost CN2 GIA $74 plan, BandwagonHost The Plan V2, and BandwagonHost DC6 limited edition.
I plan to keep the BandwagonHost The Plan V2 and BandwagonHost DC6 limited edition, and won’t renew the other two, waiting for BandwagonHost to reclaim them.
Document Info
- License: Free to share - Non-commercial - No derivatives - Attribution required (CC BY-NC-ND 4.0)