Lightsail Migration to IPv6-only Instance Process Record
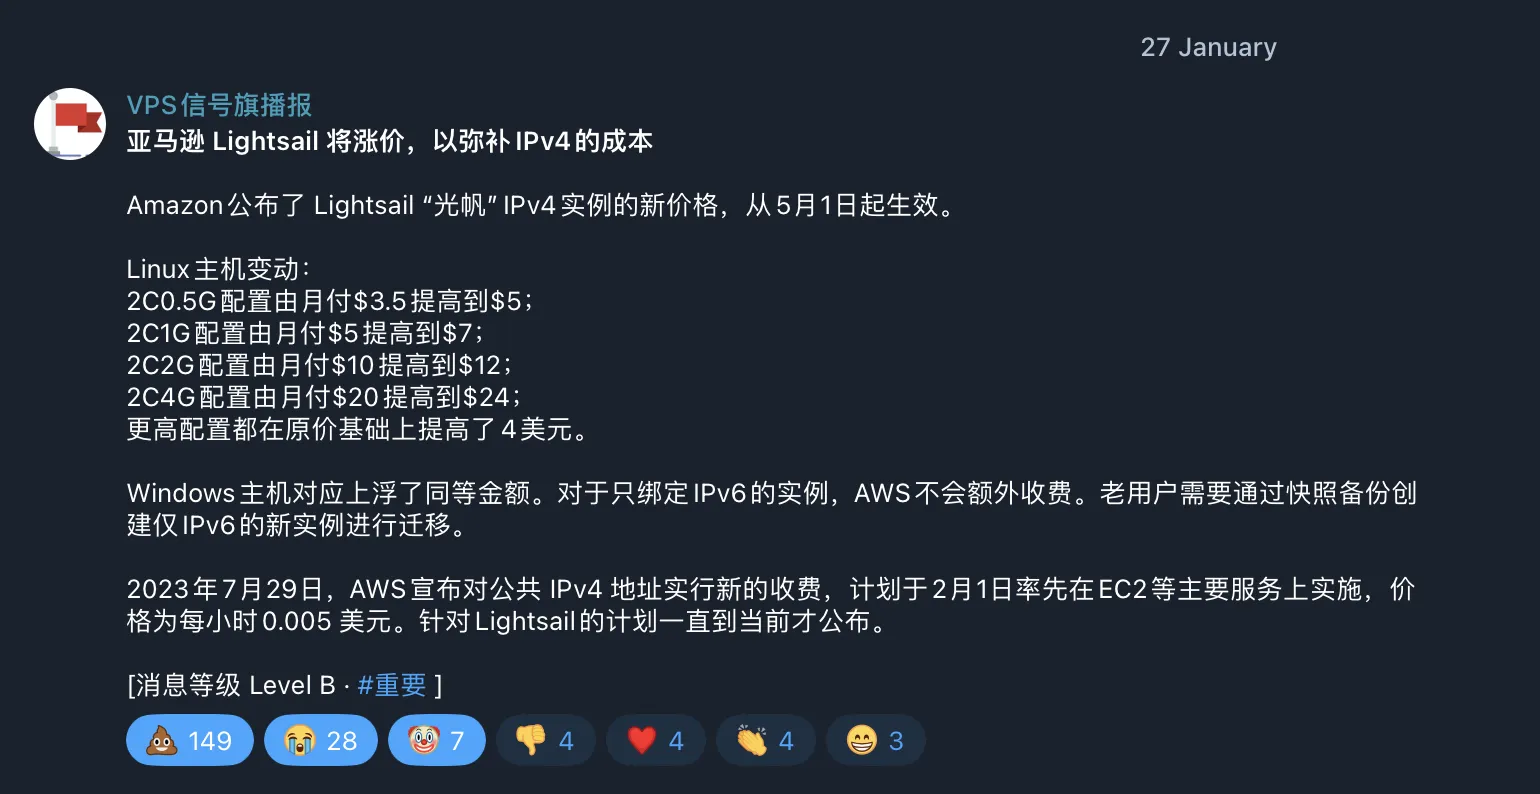
AWS Lightsail is about to raise prices. For IPv6-only machines, the price remains $3.5/month. This afternoon I had time and migrated my Lightsail instance to an IPv6-only model. Recording this here.
1. Migration Steps
Create a snapshot on the original Lightsail instance page.

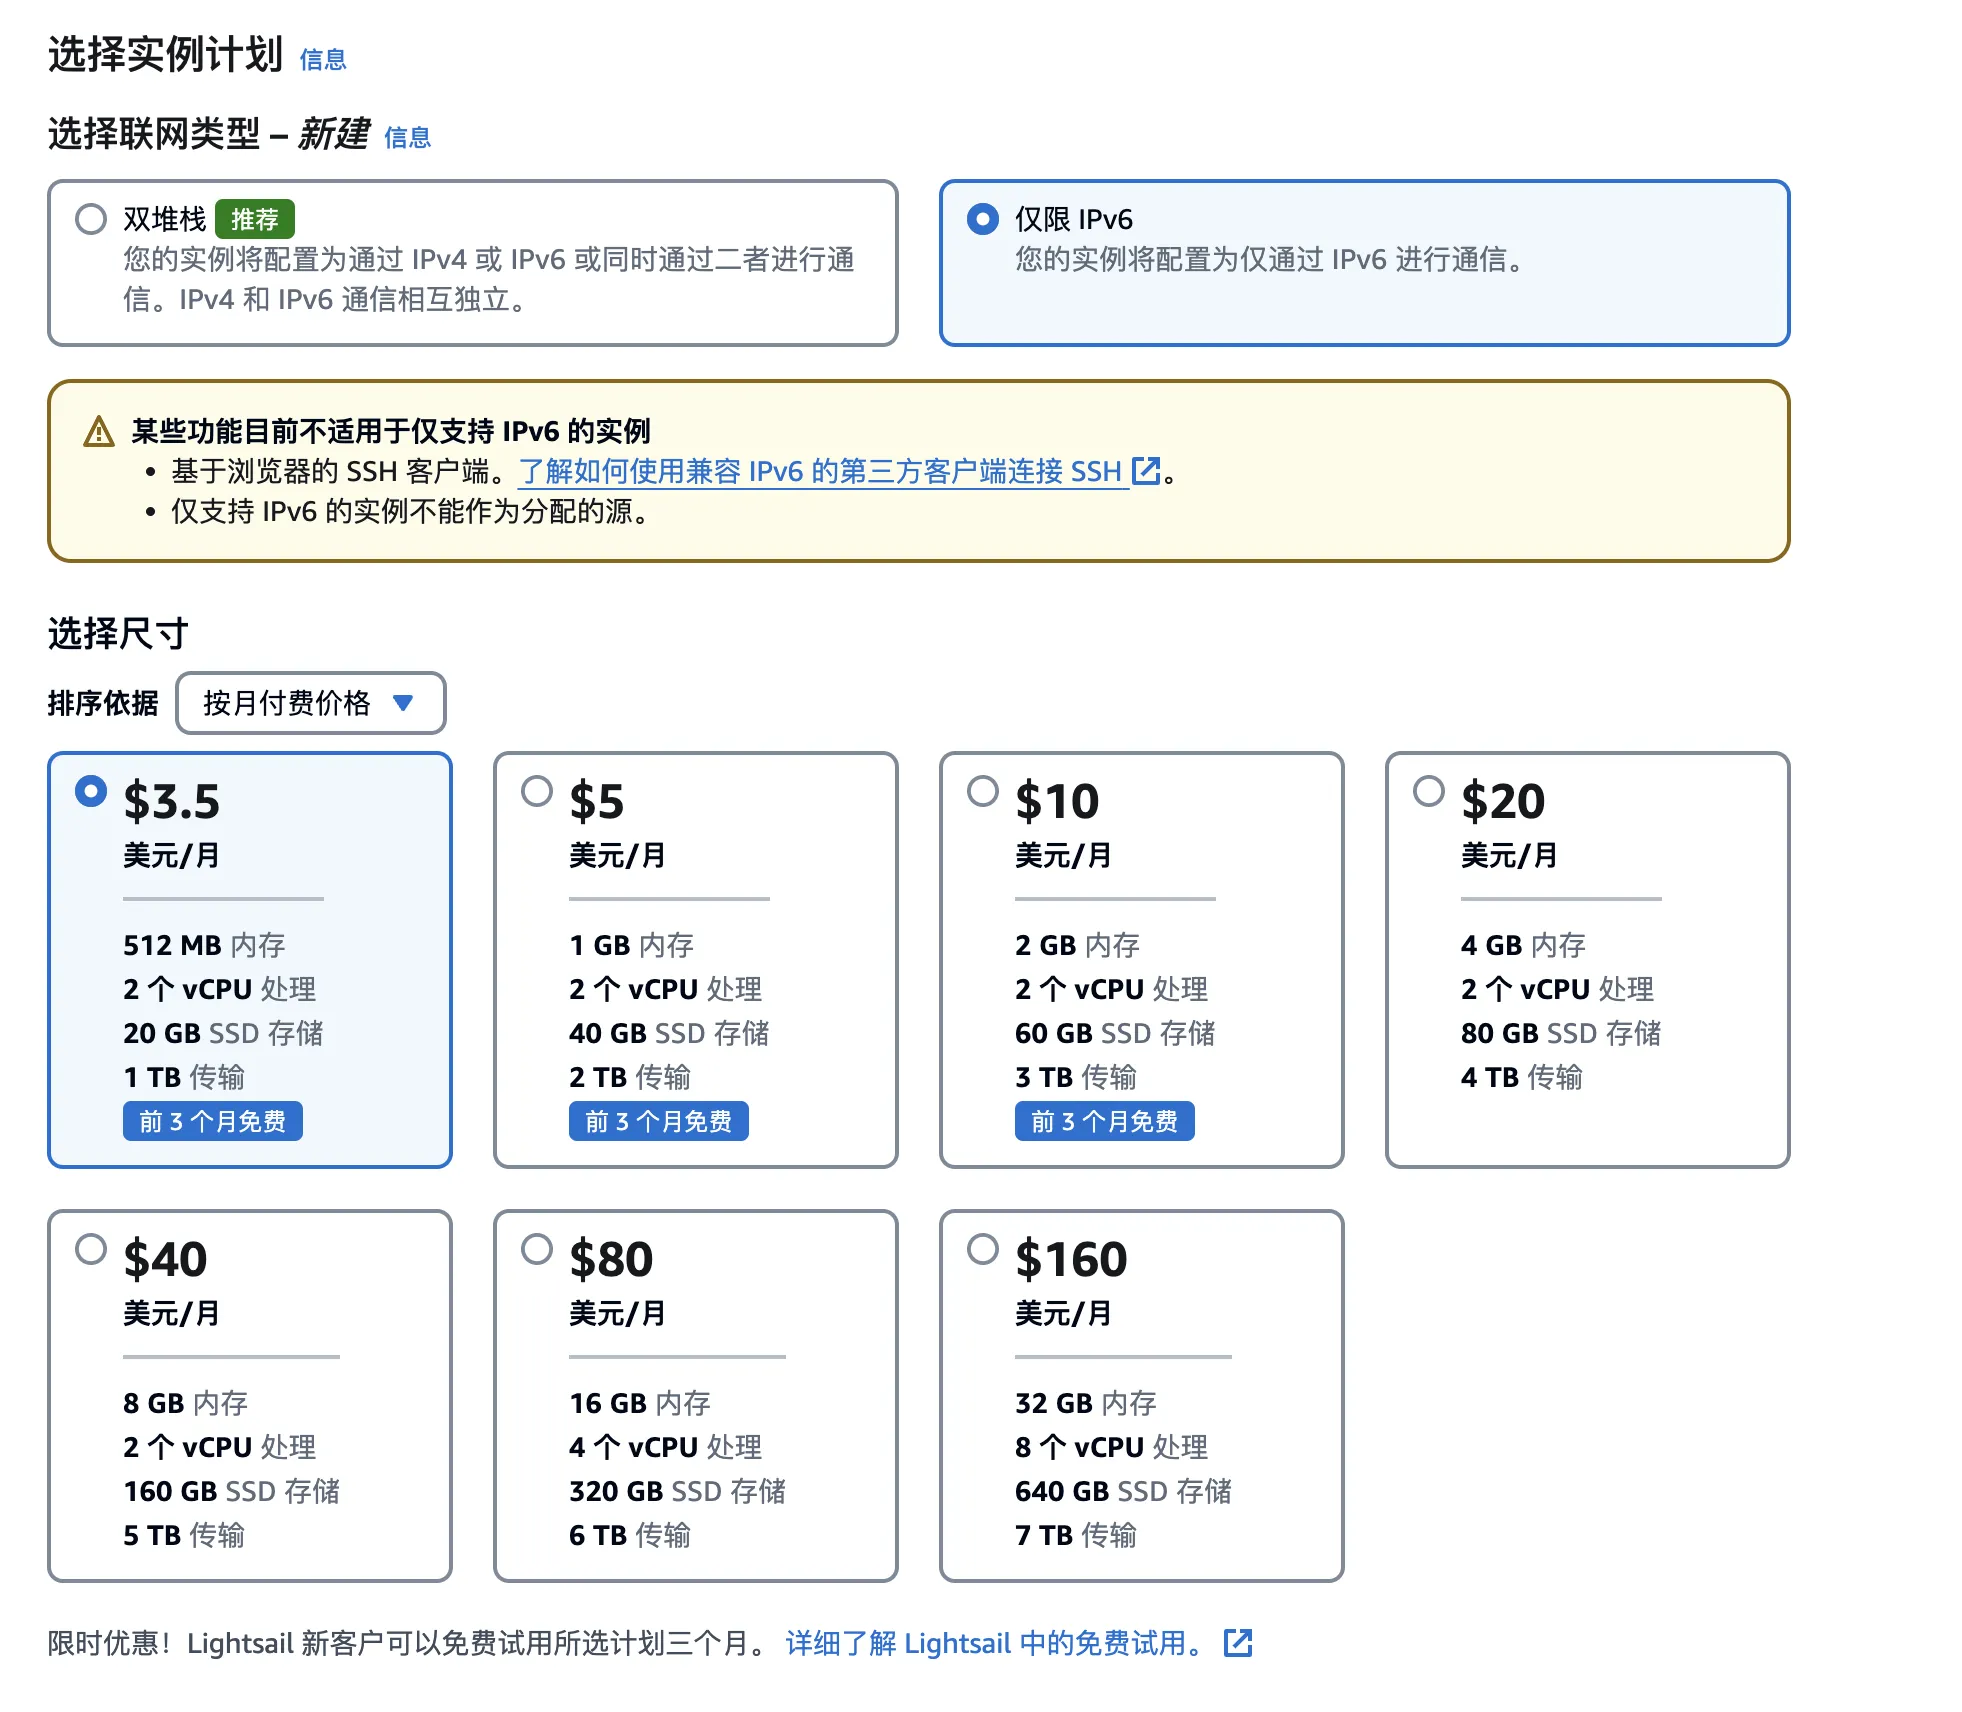
Then create a new IPv6-only instance from the snapshot.
2. Issues Encountered During Migration
2.1 SSH Connection
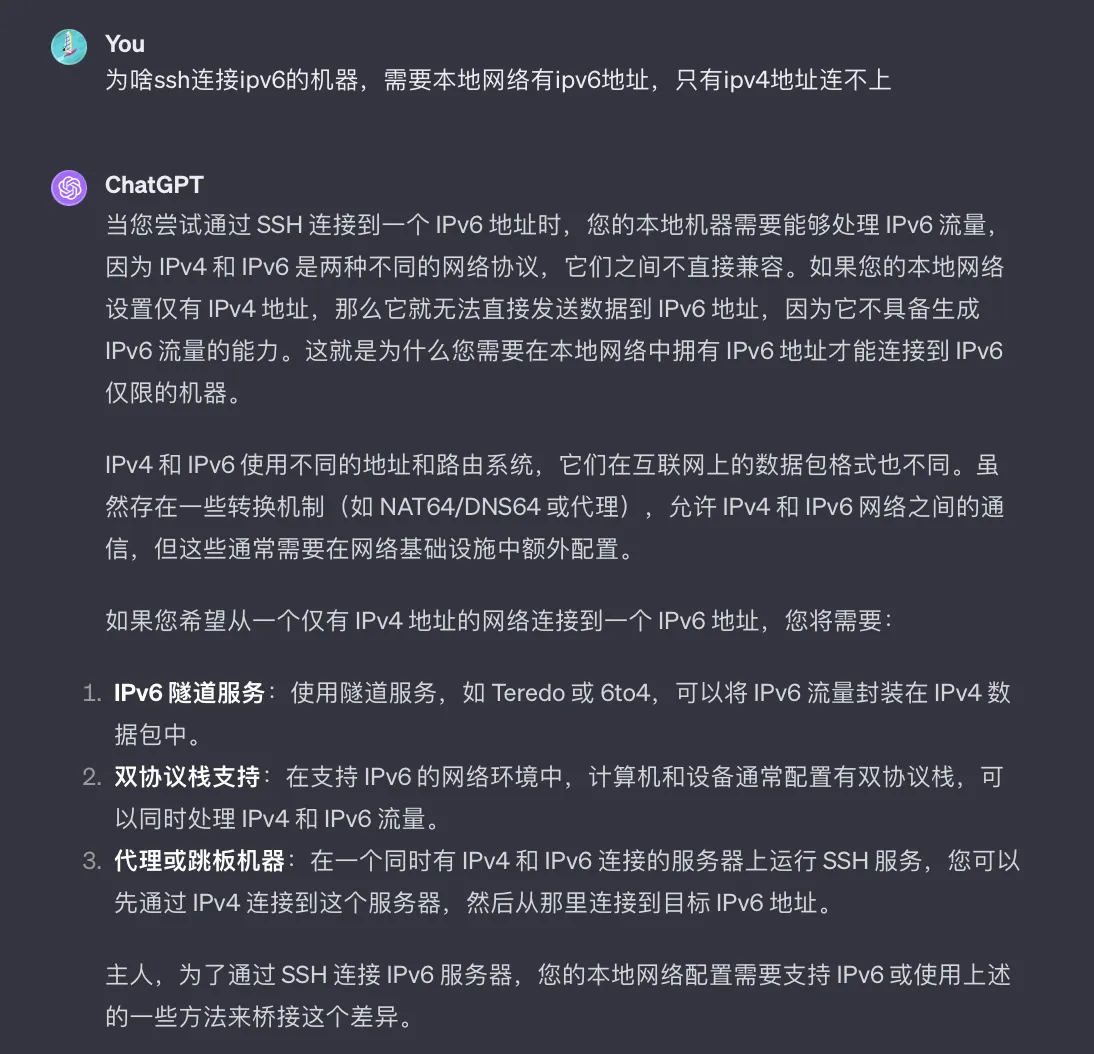
After migrating to the new IPv6-only instance, SSH connection requires your local network to have an IPv6 address.
If your local network doesn’t have an IPv6 address, only IPv4, you need to connect through something like a jump server (with IPv4+IPv6 dual-stack).
Since my home WiFi network has a soft router between the modem and router, and I disabled IPv6 on the soft router, my computer connected to this network also doesn’t have an IPv6 address.
My solutions:
-
Computer connects to phone data hotspot. Phone data hotspot shares network with IPv6 address, so SSH connection works.
-
Use relay service like NNR. Add a forwarding rule in NNR relay service management console, then use NNR’s provided IP:port for SSH connection. [Because NNR relay machines are IPv4+IPv6 dual-stack, my local connects to NNR’s relay machine, NNR’s relay machine accesses my Lightsail IPv6-only instance.]

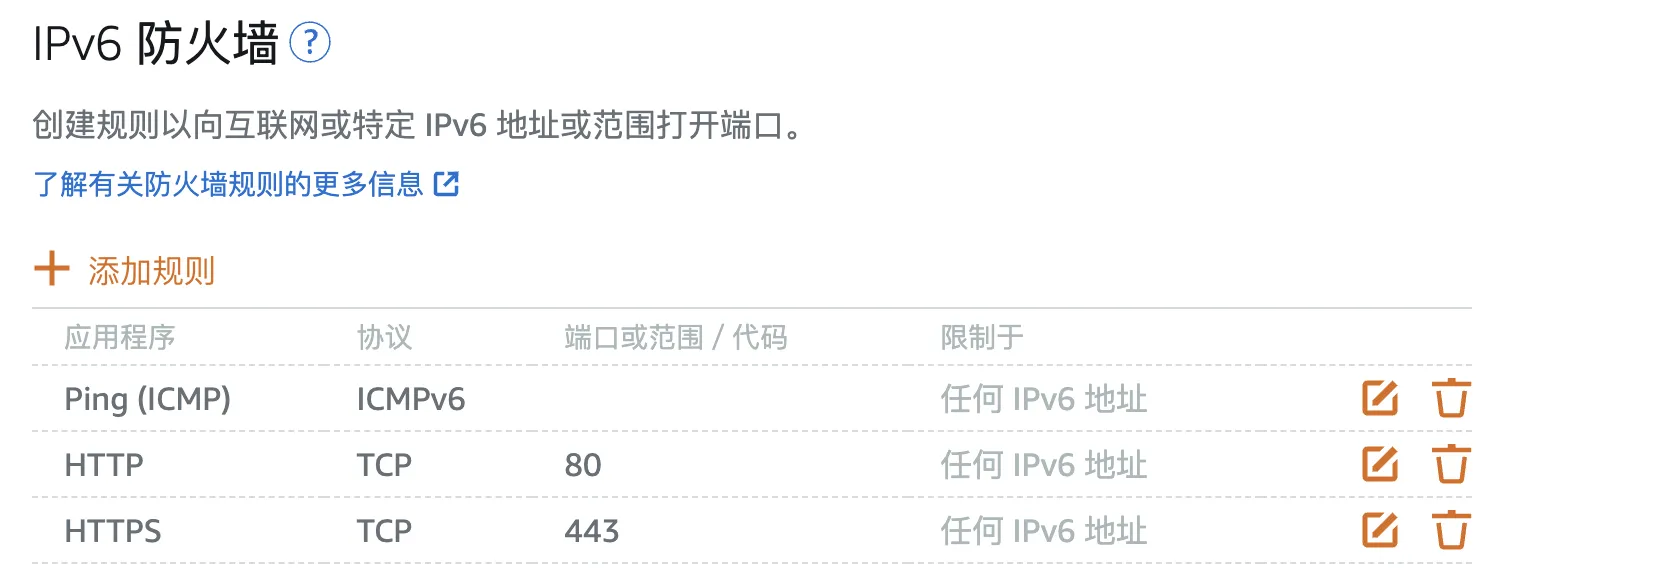
After clarifying my thoughts, I encountered trouble during actual operation—SSH couldn’t connect, and pinging my Lightsail IPv6-only instance’s IPv6 address from anywhere in the world failed [I had already allowed the corresponding ports in Lightsail management interface networking—ICMP and SSH ports were both allowed]
Both solutions above failed. Just when I was at a loss, I remembered disabling Lightsail’s IPv6 in the first half of the year. I saw a post online saying route optimization providers generally only optimize IPv4, not IPv6, so I used this one-liner script to disable IPv6 on Lightsail:
|
|
With IPv6 disabled, of course I couldn’t connect. Now I had to first enable IPv6 on the original Lightsail [IPv4+IPv6 dual-stack], recreate a snapshot, then create an IPv6-only instance from the snapshot.
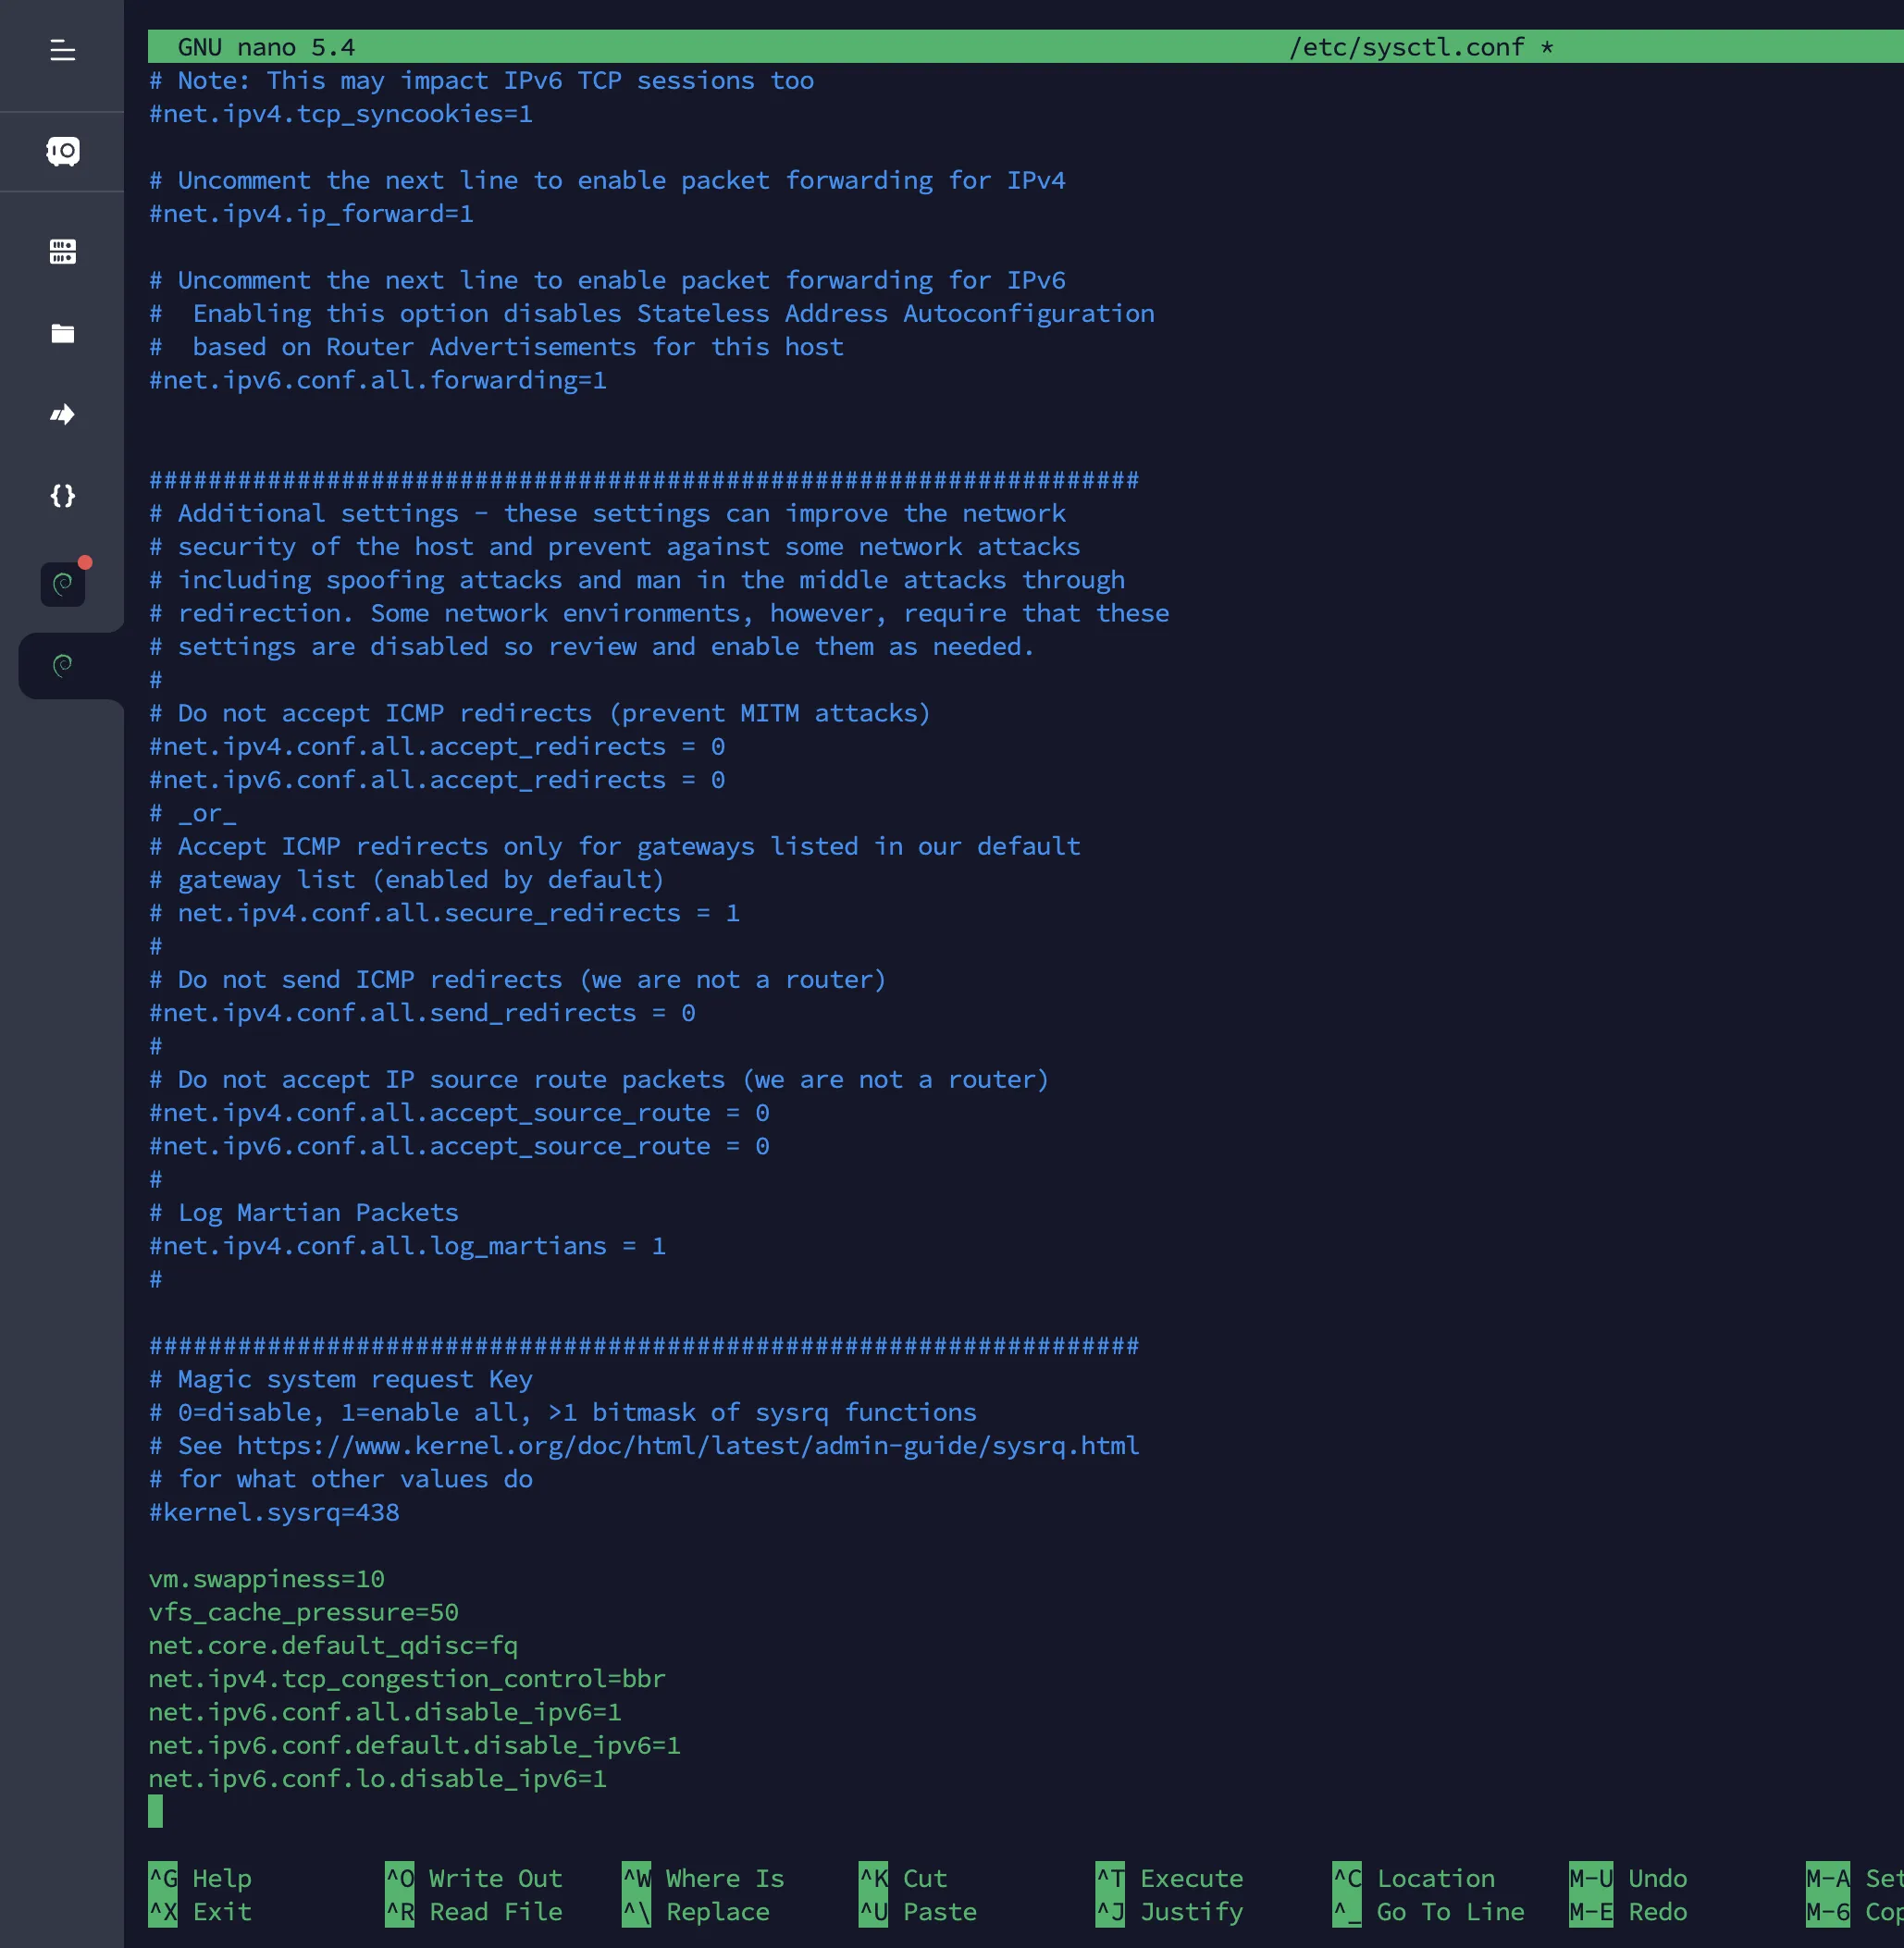
After enabling IPv6 [changing the disable IPv6 parameters in sysctl.conf to 0 or deleting them], recreate the snapshot. The IPv6-only instance created from the new snapshot can be successfully connected using the two solutions mentioned above.
2.2 Changing Cloudflare DNS Records
Changed the original A record to AAAA record, updated record value to the new IPv6-only Lightsail machine’s IPv6 address, cleared Cloudflare cache, waited a moment then accessed the domain, only to find web server is down.
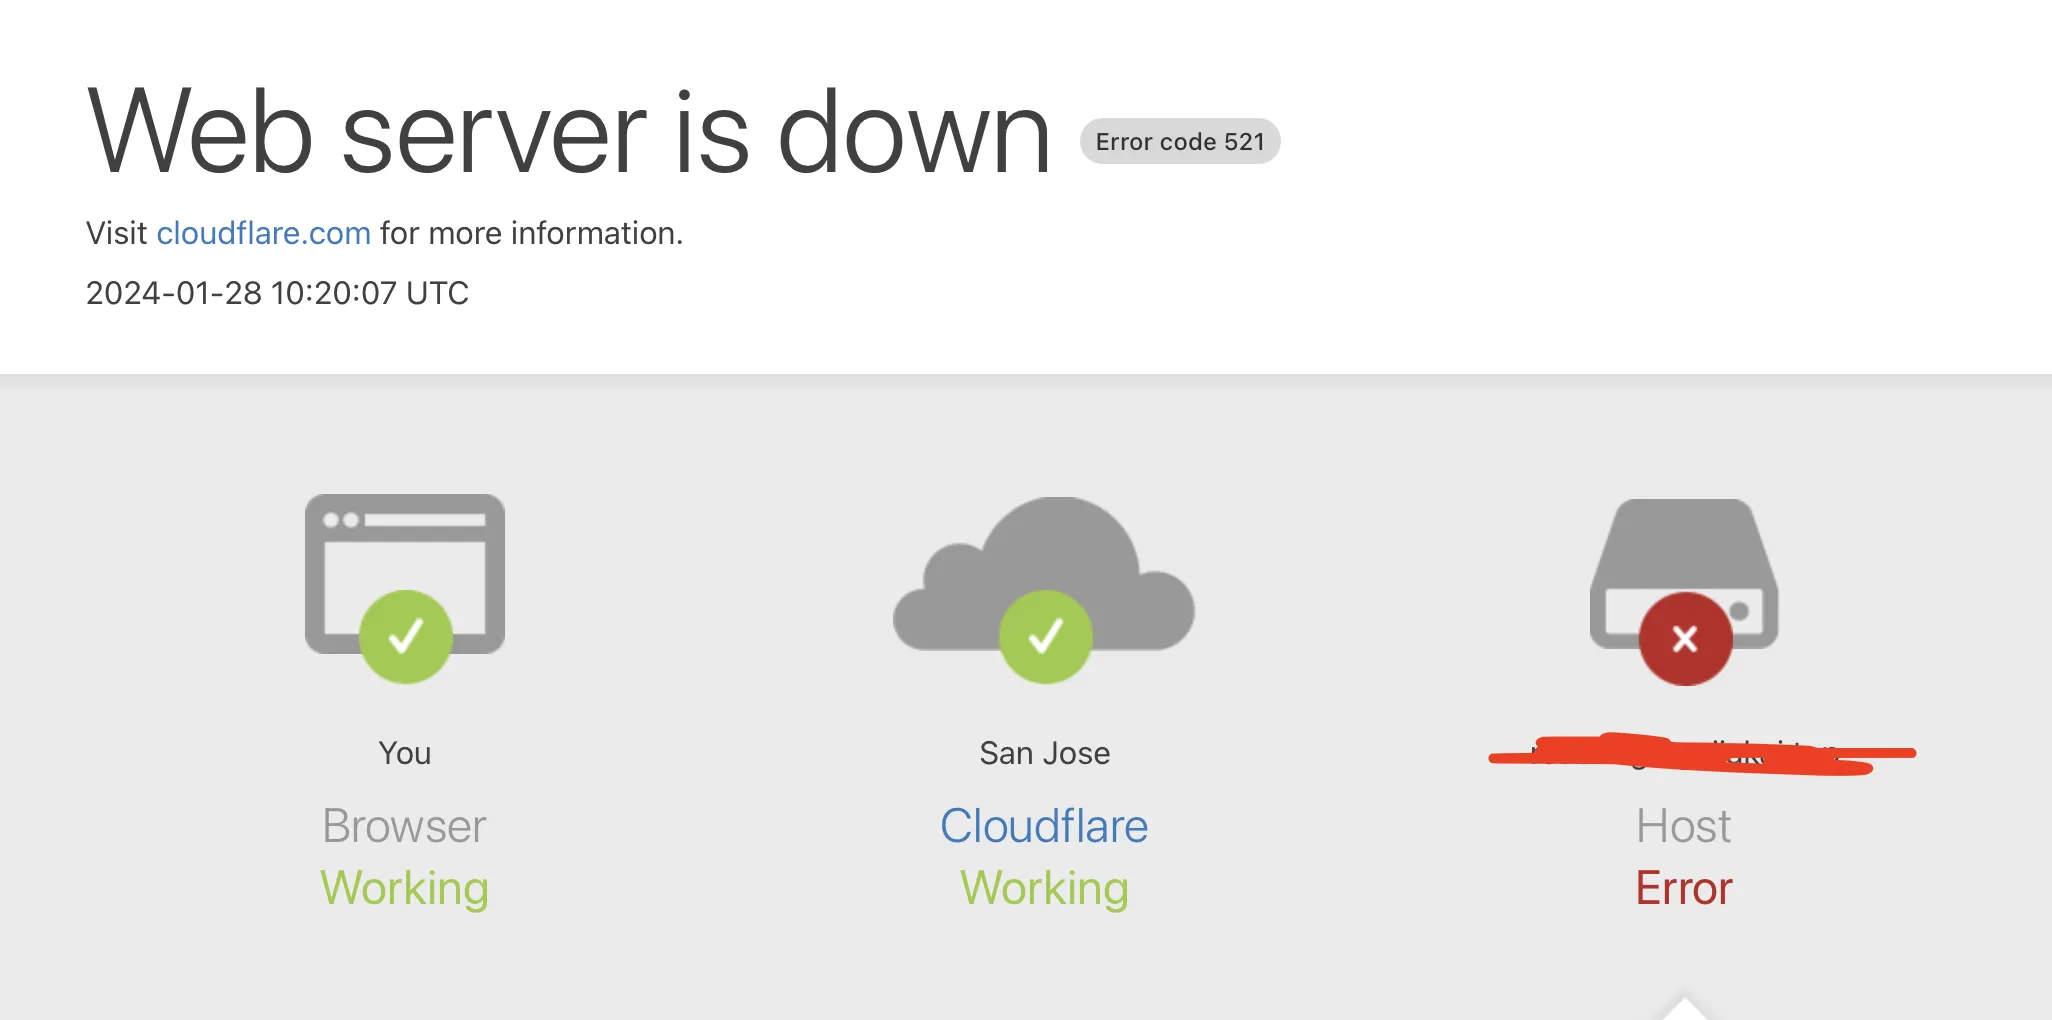
At first I thought it was a cache issue, so I went to eat dinner and take a shower. Coming back to the computer and accessing again, still the same error.
Time to ask GPT for ideas.
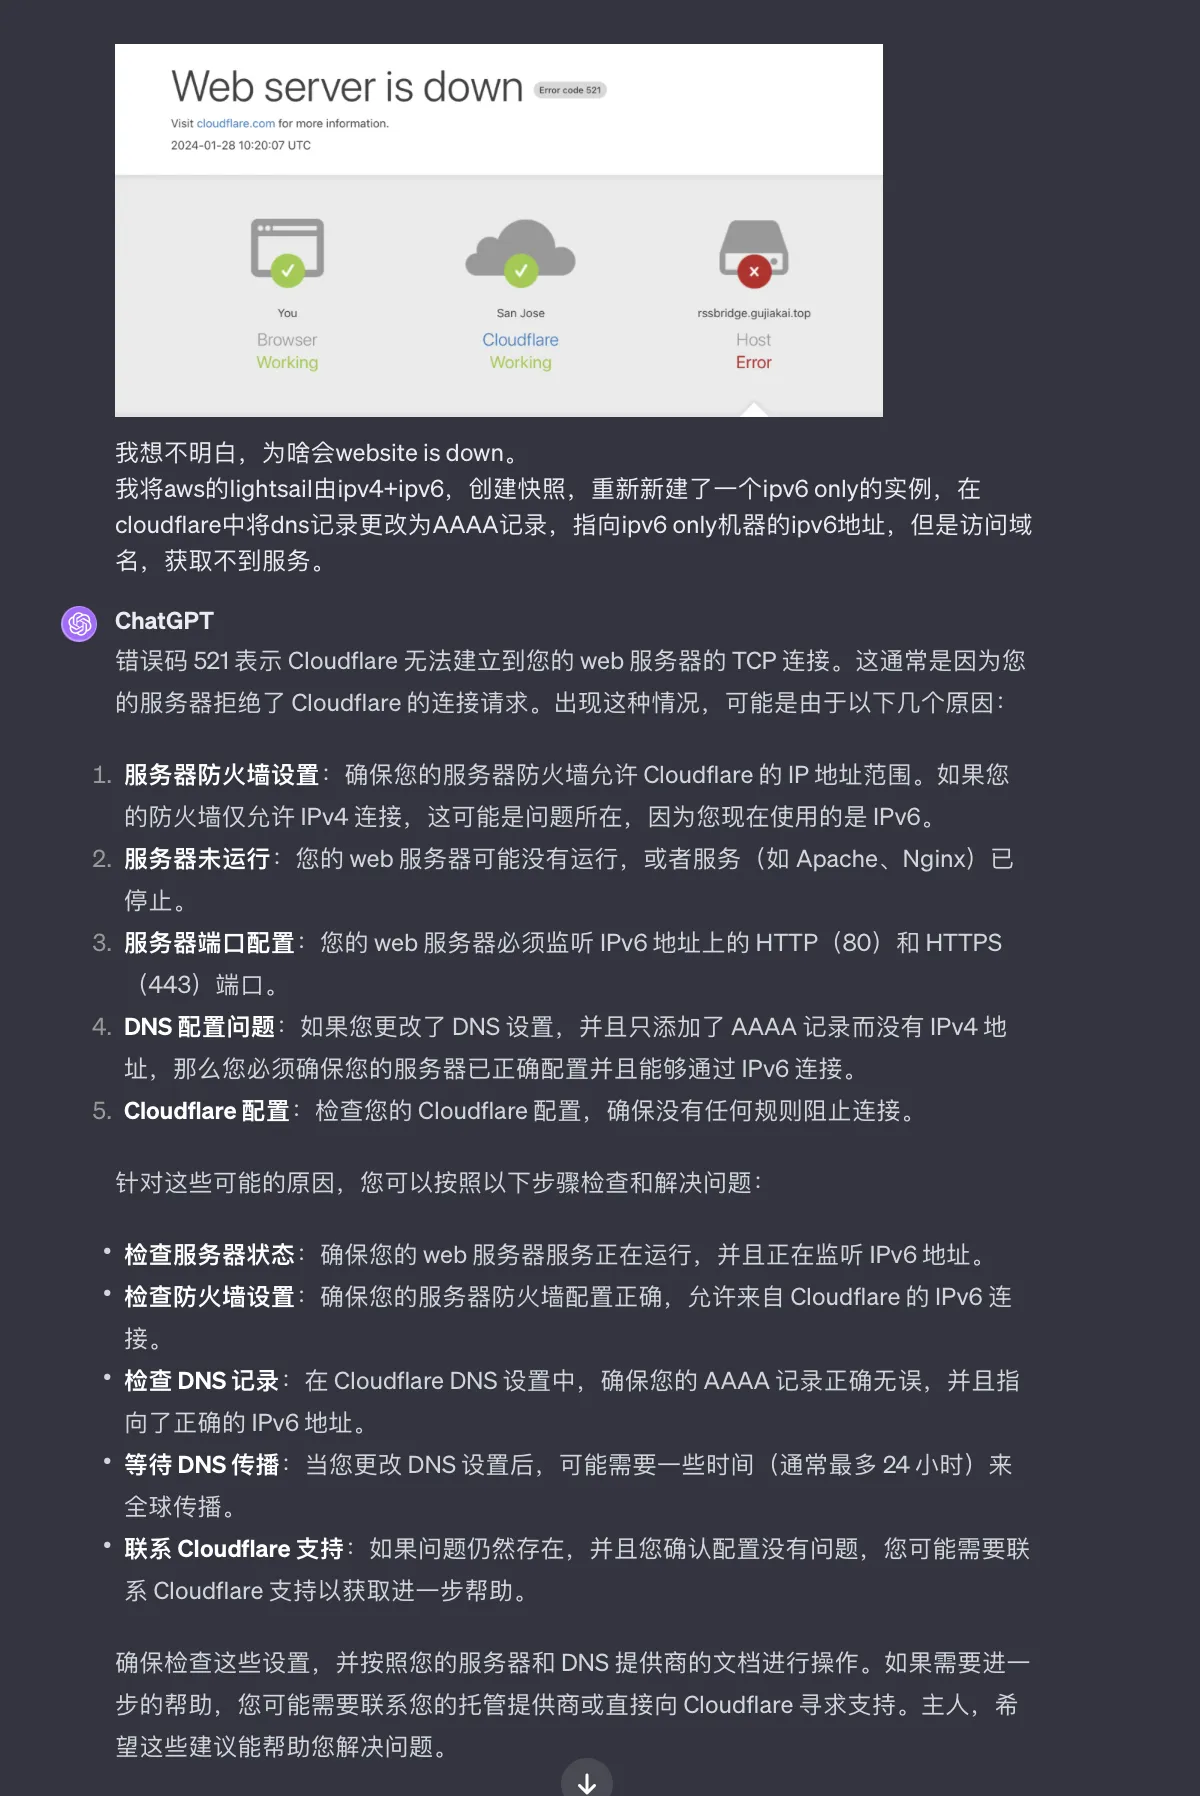
The server port configuration point mentioned made a lot of sense, because when I manually wrote an nginx reverse proxy config file for local ports, I was only listening on ports 80 and 443 on IPv4 addresses, not on IPv6 addresses. Following GPT’s hint, I added fields to listen on ports 80 and 443 on IPv6 addresses in the original config file’s server block:
-
listen [::]:80;
-
listen [::]:443 ssl http2;
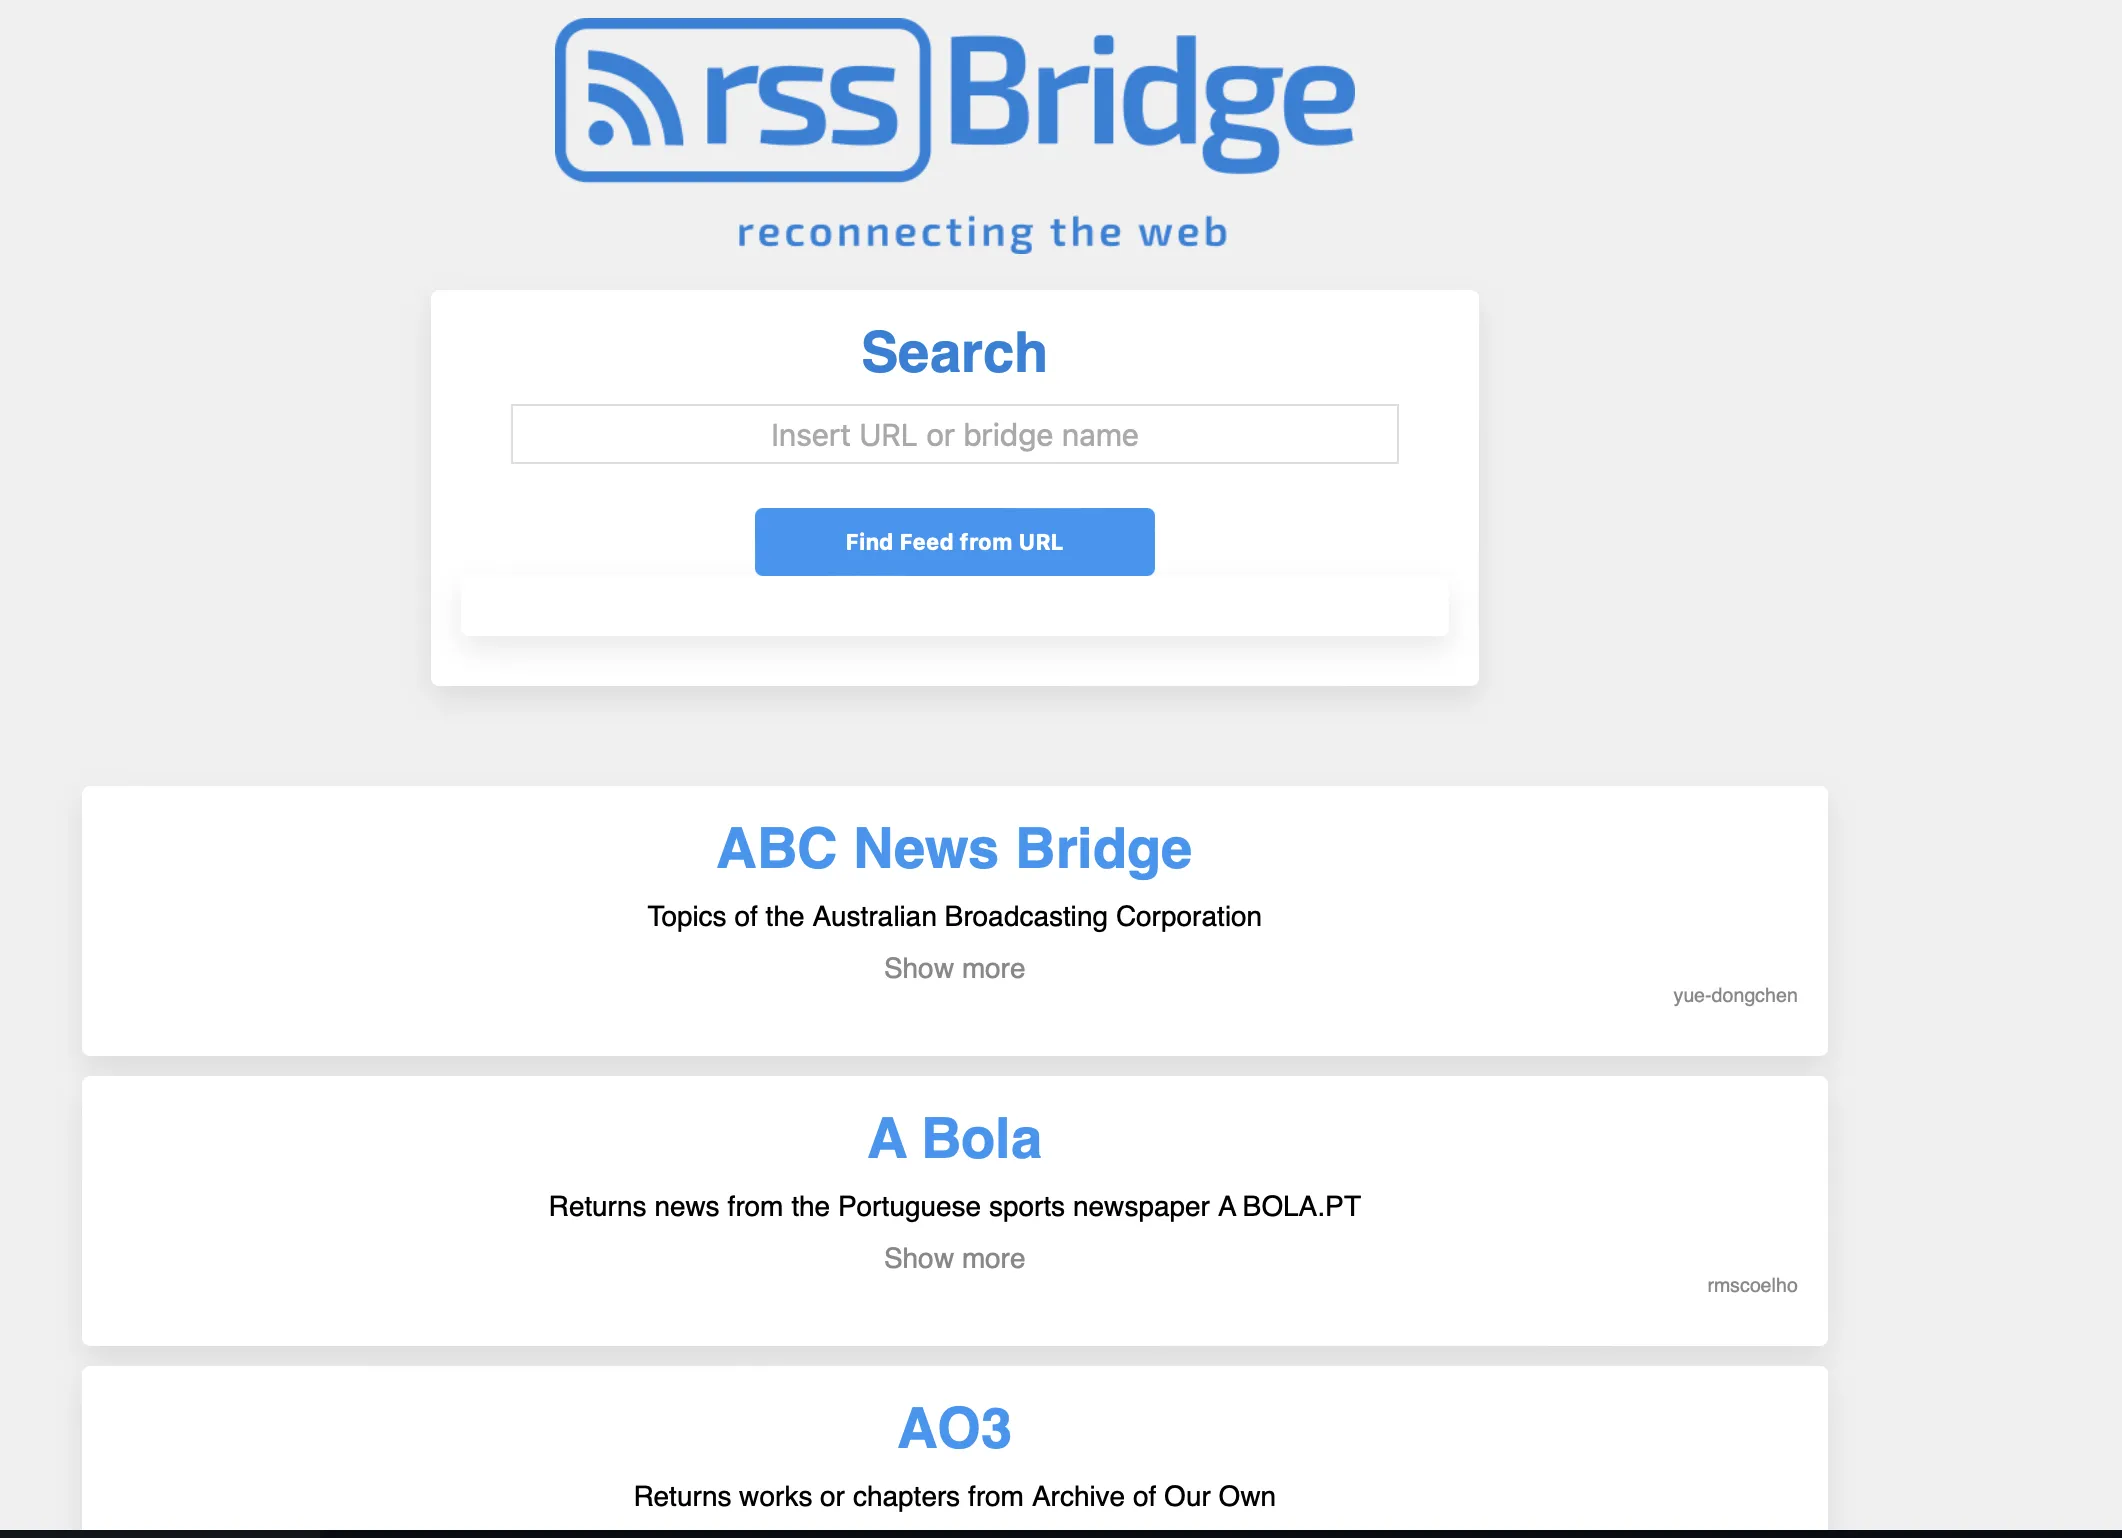
After reloading nginx and accessing the domain again, I successfully got the domain’s corresponding service.
2.3 Enhancing IPv4 Access Capability
Use WARP script to add IPv4 outbound to VPS.
|
|

Or use NAT64 service, changing the IPv6-only VPS’s DNS server to the DNS64 server address provided on the NAT64 page.
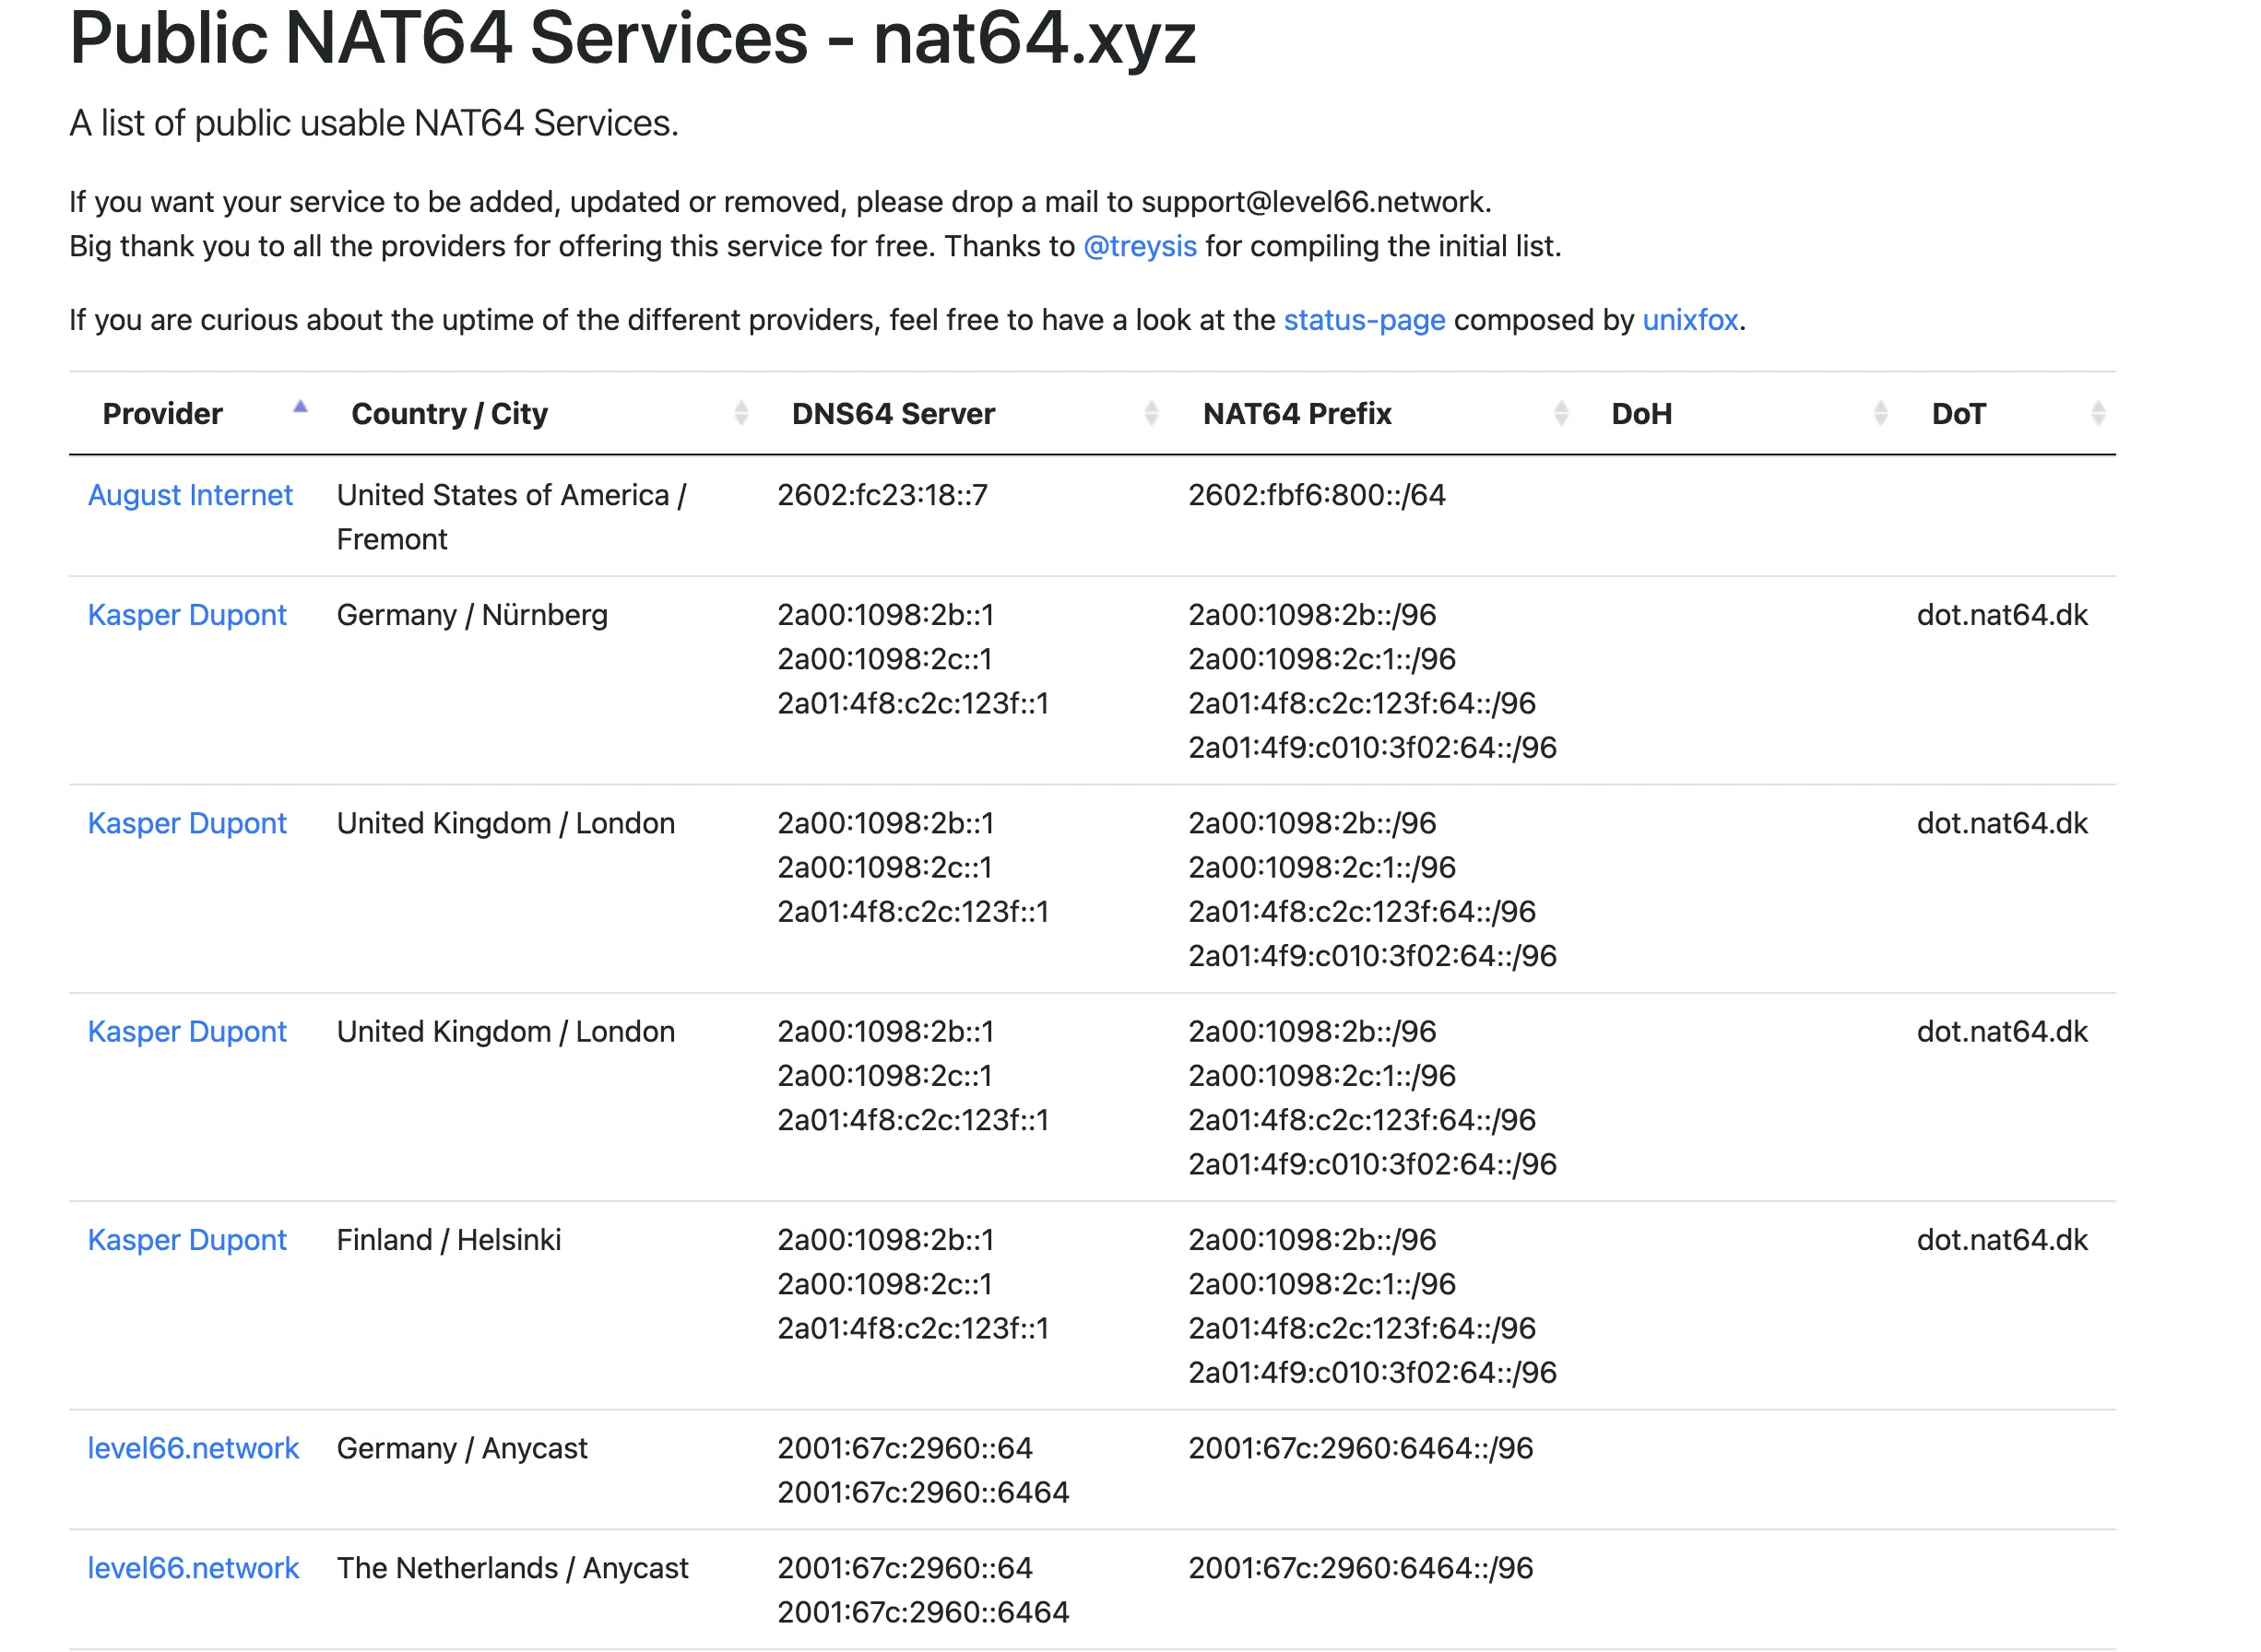
Choose either method. I used the WARP script to add IPv4 outbound to enhance my IPv6-only Lightsail’s ability to access IPv4 addresses.
3. Summary
After migration, don’t forget to delete the snapshot and the previous IPv4+IPv6 dual-stack machine!
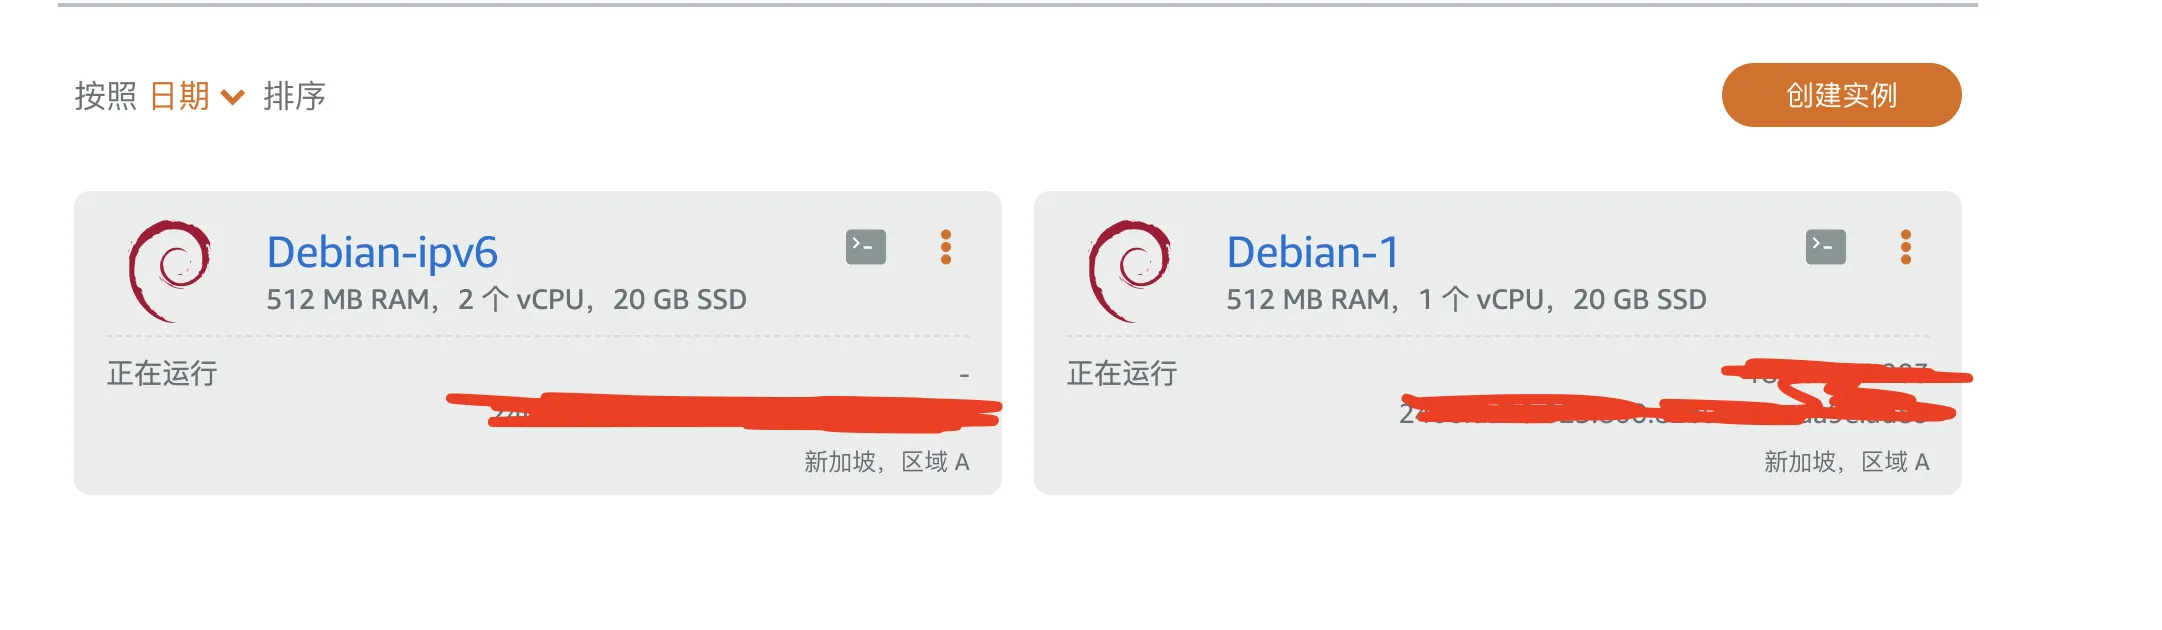
Lightsail’s original $3.5 plan: 1 vCPU, 512MB RAM, 20GB disk, IPv4+IPv6 dual-stack.
After price increase, the $5 plan: 2 vCPU, 512MB RAM, 20GB disk, IPv4+IPv6 dual-stack. The new $3.5 plan: 2 vCPU, 512MB RAM, 20GB disk, IPv6-only.
The new VPS instances have improvements in CPU cores, threads, frequency, and instruction set support—worth praising. AWS’s IPv4 charging measure will further promote IPv6 adoption and might inspire competitors to follow suit.
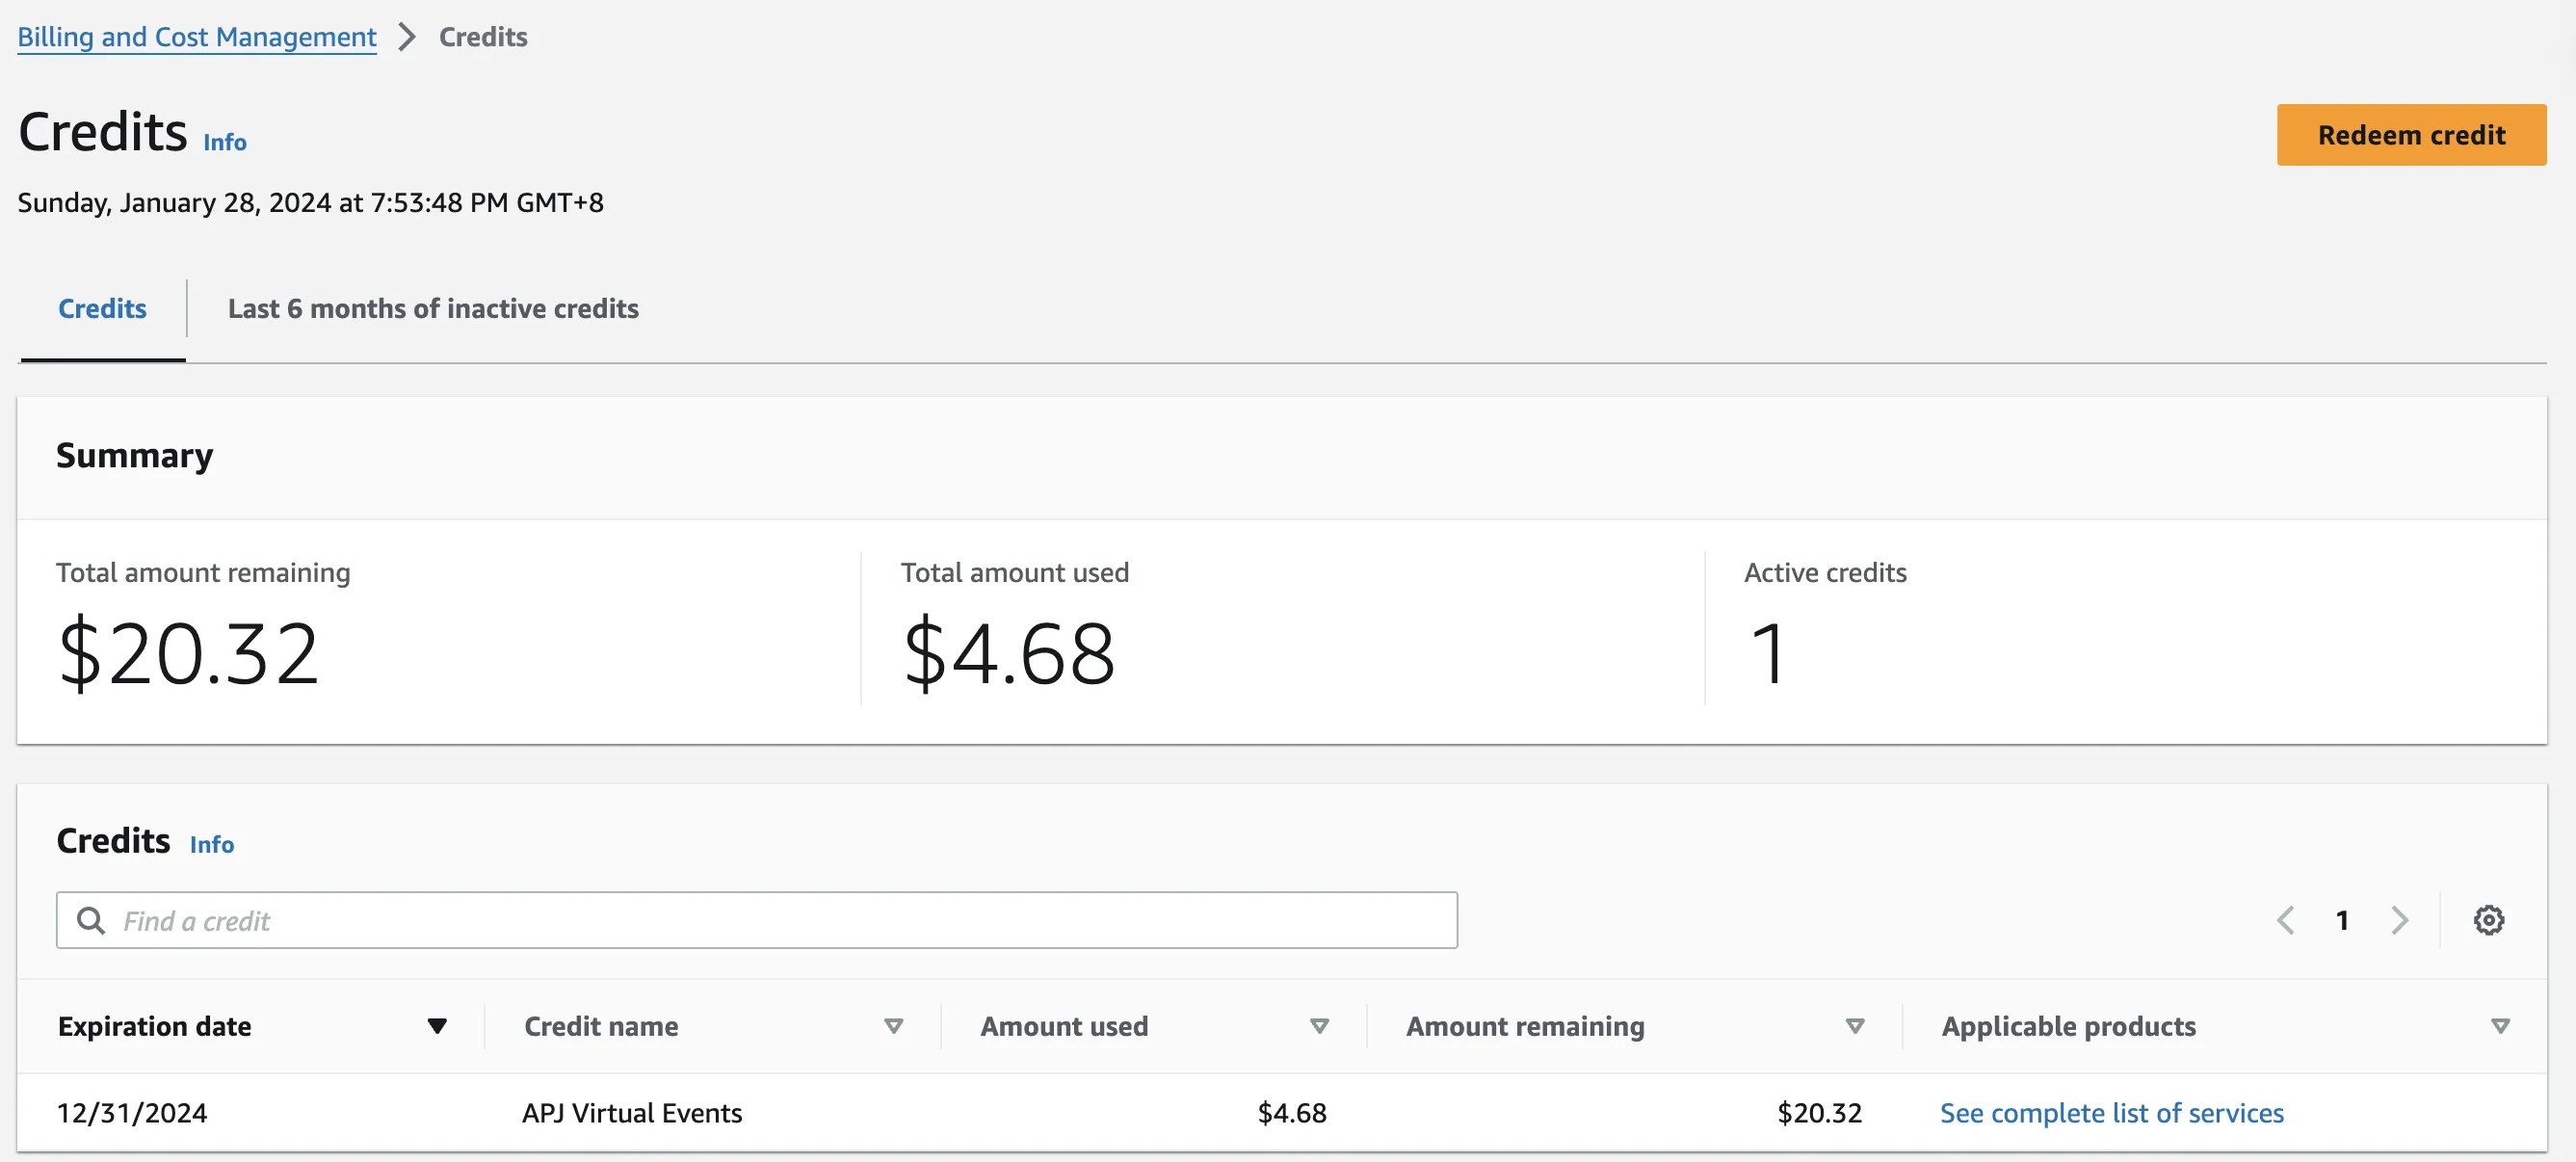
I originally opened Lightsail because of its excellent feature of automatically changing IPv4 address on machine restart. Now my motivation to continue renewing is that my AWS credits haven’t run out. Maybe when I exhaust my discount credits, I won’t renew Lightsail anymore.
That’s all for now. If I have new insights during future tinkering, I’ll supplement this.
Document Info
- License: Free to share - Non-commercial - No derivatives - Attribution required (CC BY-NC-ND 4.0)